Authentication Key Management
The axept Connect Cloud Service makes use of a merchant authentication key to verify that the client connecting is permitted to interact with the system.
For ALL Pre-Production Testing, and for initial LIVE order creation, the DNA Integration team will supply the Public Key you need. The following functionality should only be utilised if:
- You require multiple keys for the same merchant
- You are onboarding multiple merchants and wish to self-serve this step
- You expect to need to replace keys regularly
Please contact us if you want access to this functionality. The permissions in OCC are not enabled by default.
Requirements
It is assumed that:
- You have access to the Optomany Control Centre (OCC) to manage your merchant account(s)
- Your user(s) have been given the Manage Axept Connect Cloud Keys permission
- You are familiar with OCC navigation
- You have selected the desired Merchant using the 'spanner icon'; The merchant is selected in the top right.
Creating a New Key
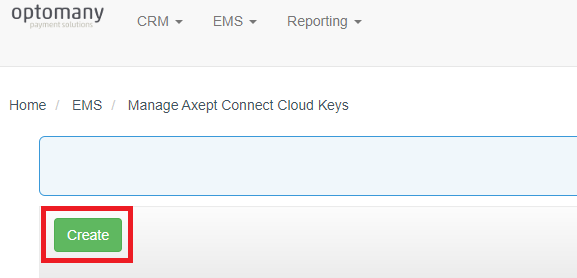
Navigate to EMS > Manage Axept Connect Cloud Keys
You can only create three keys at one time
Select the Create button to generate a new key.
 This creates the new record and displays the authentication key details on screen.
Copy the ID and key details for secure storage in the merchant’s POS system.
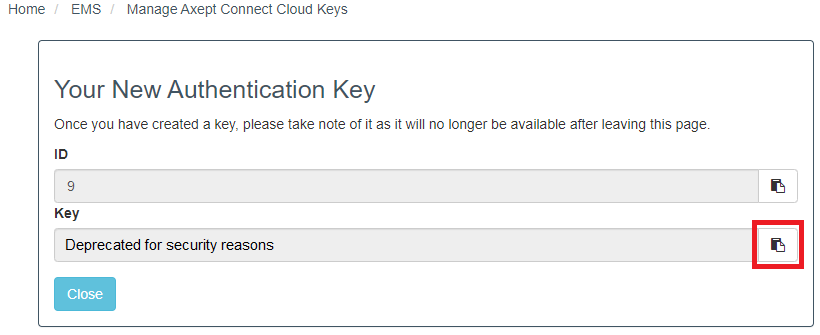
DNA Payments does not store the generated key value, so it is vital that you make a note of this key, and you should securely store it in your system.
Disabling an Existing Key
When on the Manage Axept Connect Cloud Keys screen, select the Disable button for the key that is to be disabled.
 This will update the record to indicate that the key is not currently enabled.
If disabling the key will result in all keys being disabled, the page will prompt for confirmation as this means that the axept Connect Cloud functionality will not be available to the merchant until either a new key is created or an existing key is re-enabled.
Enabling an Existing Key
Any disabled keys can be re-enabled by selecting the Enable button for the key that is to be enabled.
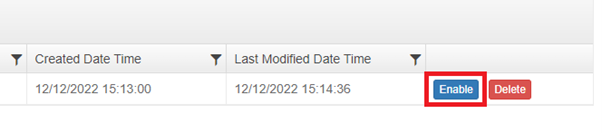 This will update the record to indicate that the key is enabled.
Deleting an Existing Key
When on the Manage Axept Connect Cloud Keys screen, select the Delete button.
 This will update the record to indicate that the key has been deleted. The page will prompt for confirmation as this is not a recoverable operation. If the last key / last enabled key is deleted, axept Connect Cloud functionality will not be available to the merchant until a new key is created.