Setting up Wifi
axept® PRO supports connections to both 2.4Ghz and 5Ghz Wi-Fi networks and can be programmed with multiple network configurations for devices that are used in more than one location.
axept® PRO will always treat Wi-Fi as the primary connection type where present, with the cellular connection used as backup.
To configure the Wi-Fi connection, follow the below steps.
Wi-Fi and SIM configuration use the underlying Android Operating System interface, so several of the following screens may be familiar to you if you have used an Android device in the past.
The screens may differ in colour or other minor ways between Android versions however. The underlying options are always the same though.
| Step | Instruction | Guidance Image |
|---|---|---|
| 1. | Select the menu icon on the main axept® PRO Launcher screen and choose “Wi-Fi Settings”. |  |
| 2. | By default, the Wi-Fi module will be disabled as shown by the “off” message in the header bar. To enable Wi-Fi, press the slider on the right-hand side of the screen. | 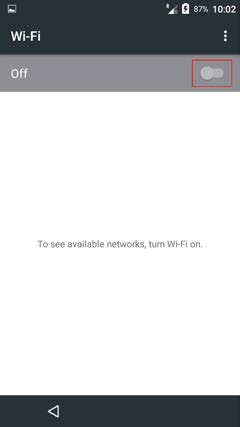 |
| 3. | The terminal will scan for available networks and after a moment a list will be displayed. | 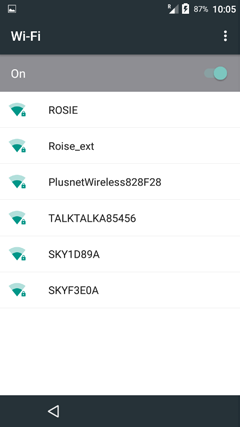 |
| 4. | Choose the network required and enter the password when prompted. When complete press “Connect”. |  |
| 5. | The connection process will then start. | 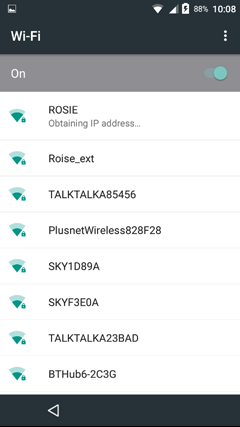 |
| 6. | After a moment, the terminal will be complete the connection using DHCP and return to the “Wi-Fi” menu showing a status of ‘Connected’ against the chosen network. | 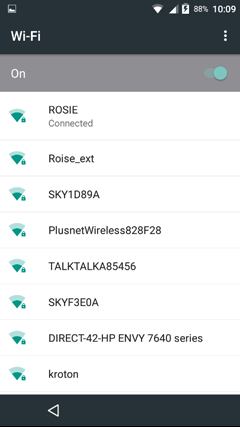 |
| 7. | Press the left arrow at the bottom of the screen to return to the axept® GO Launcher. | 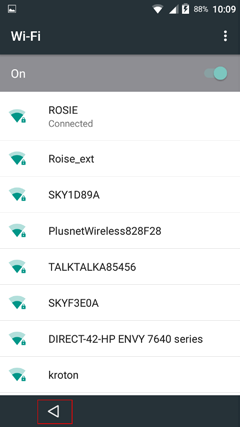 |
You can set up additional Wifi networks and the terminal will remember them. This is really useful if your business operates in more than one location, or if you have several networks covering one site.