A80 Terminal Overview
Thank you for choosing your axept® PRO terminal from us.
axept® PRO utilises the PAX A80 Countertop POS and is designed to process transactions as quickly as possible via an Ethernet or Wi-Fi connection. This user guide is designed to provide users of the PAX A80 with everything they need to install their terminal.
Overview
Unboxing
Before starting to use axept® PRO, it is recommended that you take a few moments to check the contents of the box. Every axept® PRO A35 package should include:
- axept® PRO Terminal (PAX A80)
- UK Power adaptor and 3 pin plug
Terminal Overview
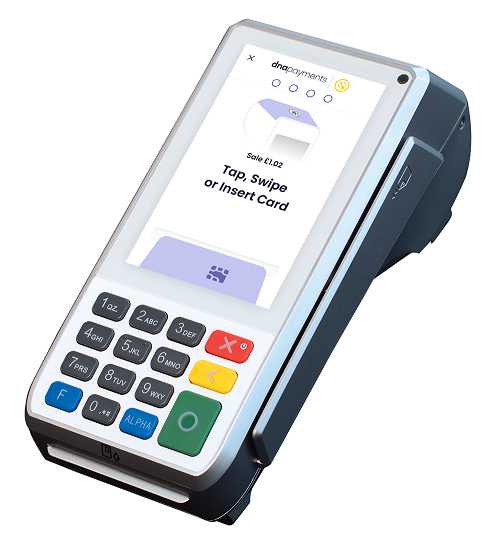
As a standalone terminal, the PAX A80 needs to plugged into the mains to operate. It can be connected to your network by a wired ethernet cable for the most reliable performance, or via Wi-Fi if this is more convenient.
The terminal is powered on/off by pressing and holding the red X button.
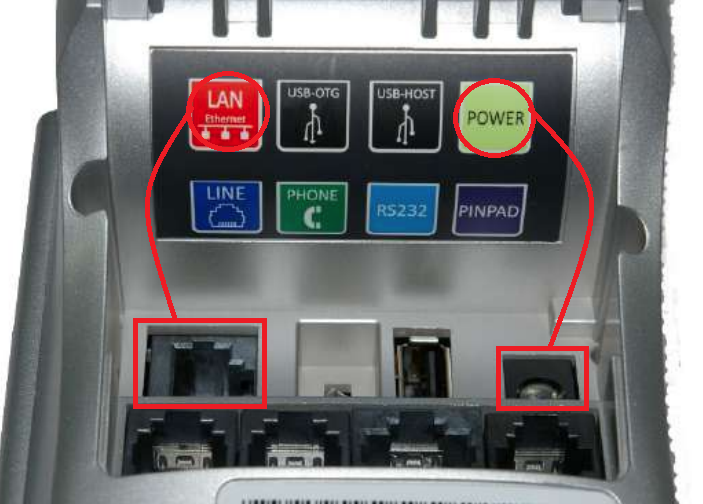
This picture of the rear of the terminal shows the LAN and Power cable interfaces. No other connections are supported.
Icon Overview
![]()
Receipt Roll Installation
The A80 accepts standard 57mm wide x 40mm diameter Thermal Till Rolls. Installation is a simple process.
The 'top' of the terminal, where the Contactless logo can be seen, unclips and folds back as shown here.
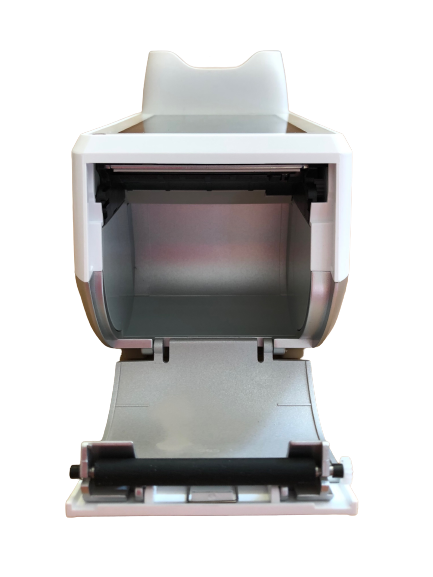
You can then insert the roll so that the paper exits the holder nearest the screen, at the front.
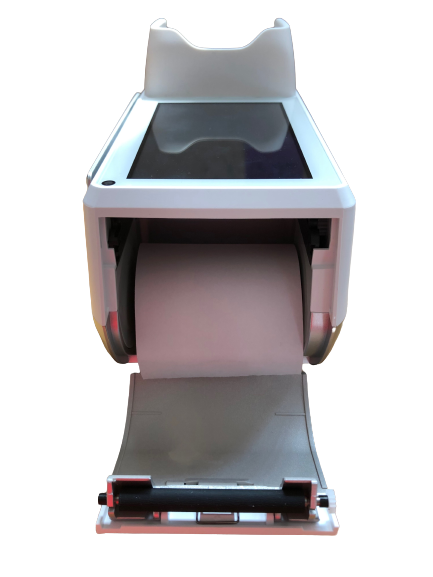
Please make sure that the paper is long enough to still be visible when the lid is shut. The roller shown on the lid above should press the paper against the terminal firmly.
Contact Details
If you need any assistance with these instructions, you can contact our Customer Support team via the details below.
Optomany Customer Support
| Phone: | +44 (0) 20 8102 8000 |
| Email: | CustomerSupport@optomany.com |
For further information on connecting your new terminal to Wi-Fi and processing transactions, please see the axept® GO Guide