Connecting to Wifi
Your V240m terminal is pre-configured to use 3G mobile network for communications. This will allow you to authorise sales immediately.
You can also enable Wi-Fi as the primary communications method. This will allow the device to use Wi-Fi in preference to 3G.
To enable Wi-Fi, please follow the steps below:
- Elavon
- UK Banking
| Step | Instruction | Guidance Image |
|---|---|---|
| 1. | Press the grey box at the bottom of the screen and select Communication Wizard | 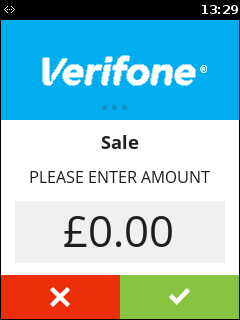 |
| 2. | On the communications panel, select 'Wifi' using the touch screen. | 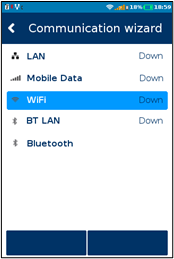 |
| 3. | The terminal will then scan for available networks. | 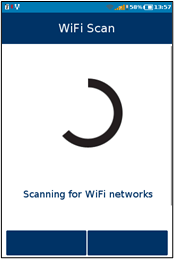 |
| 4. | Select your network from the list available using the touch screen. | 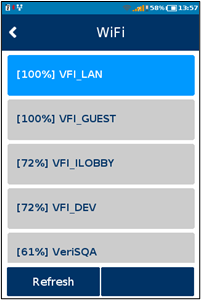 |
| 5. | Using the terminal keypad, enter the WiFi password and press OK on the touch screen to save. You will need to press a key several times to cycle through all assigned letters. Remember that this password will be case-sensitive. Check the network details are correct and press Add on the touch screen. | 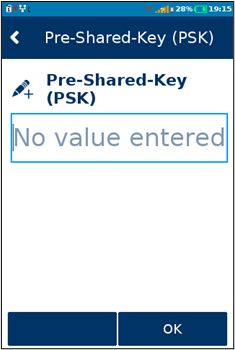 |
| 6. | The terminal now configures the interface. | 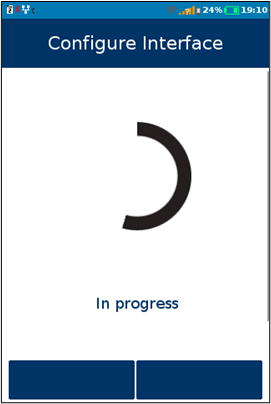 |
| 7. | You will now be able to process transactions over the configured WiFi connection. | 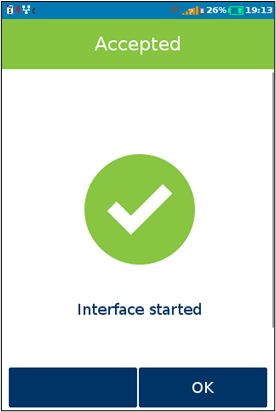 |
| Step | Instruction | Guidance Image |
|---|---|---|
| 1. | Press the main logo at the top of the screen to enter the Main Menu. | 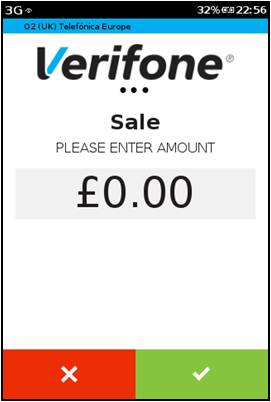 |
| 2. | On Main Menu (1/2) press the down arrow. | 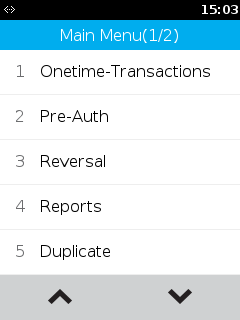 |
| 3. | Press 1 on the keypad, or select Configuration using the touchscreen. | 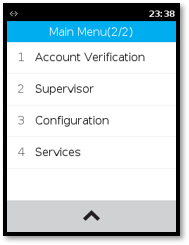 |
| 4. | Enter the Supervisor Password. The default is 1234. | 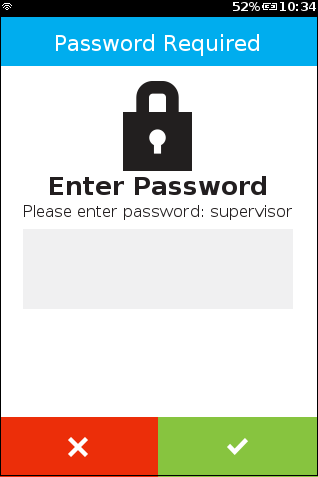 |
| 5. | Press 1 on the keypad, or select Communication using the touchscree. | 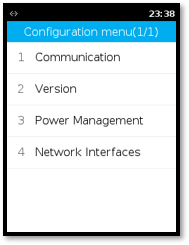 |
| 6. | You should now see the Communication Panel This is a long menu with multiple options. | 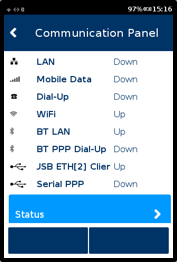 |
| 7. | Drag the screen downwards (swipe up from bottom to top) until you see Configuration. Select this using the touchscreen. | 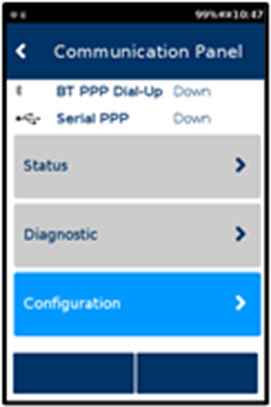 |
| 8. | Select Network Interface using the touchscreen. | 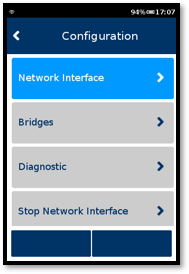 |
| 9. | Select Wifi using the touchscreen. | 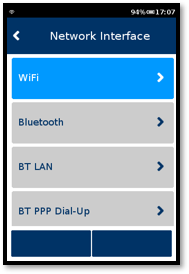 |
| 10. | Select Wifi Scan. | 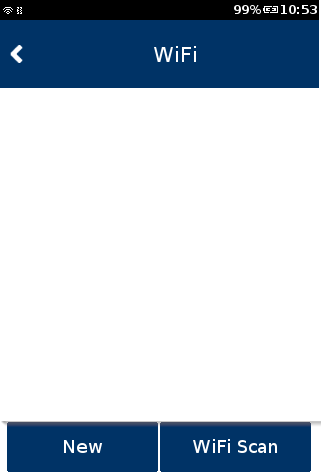 |
| 11. | Select your desired network from the list of networks that have been found. | 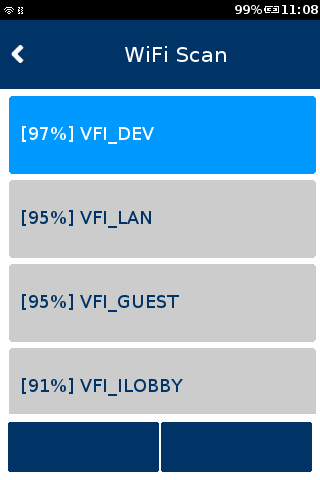 |
| 12. | Select Add. | 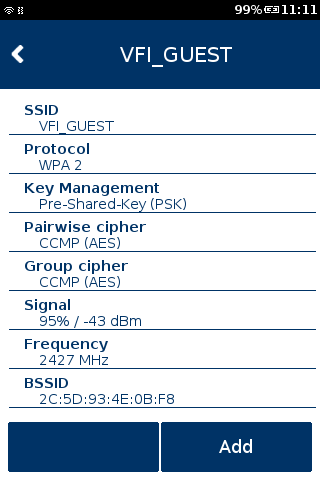 |
| 13. | Select Pre-Shared Key (PSK). | 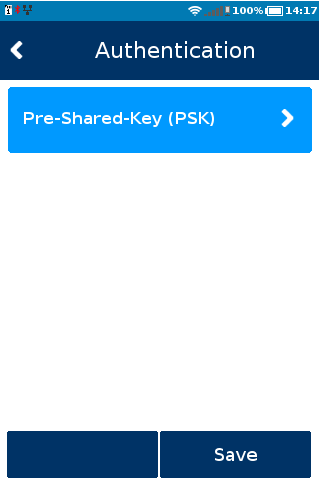 |
| 14. | Using the terminal keypad, enter the WiFi password and press OK on the touchscreen to submit it. You will need to press a key several times to cycle through all assigned letters. Remember that this password will be case-sensitive. Check the network details are correct and press Add on the touch screen. | 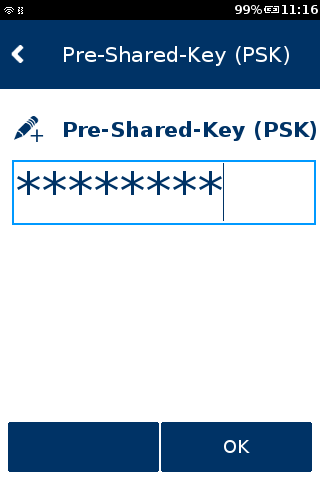 |
| 15. | Select Save. | 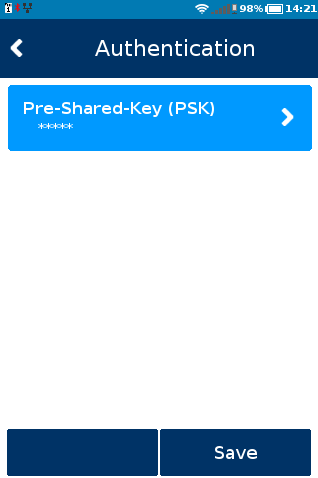 |
| 16. | Select OK | 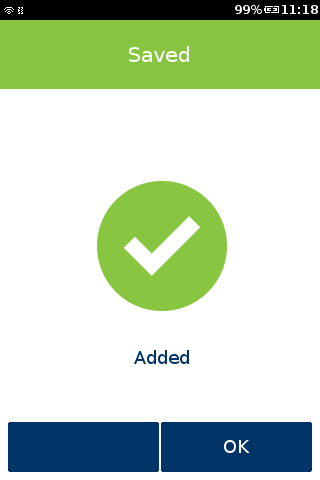 |
| 17. | Select Yes. | 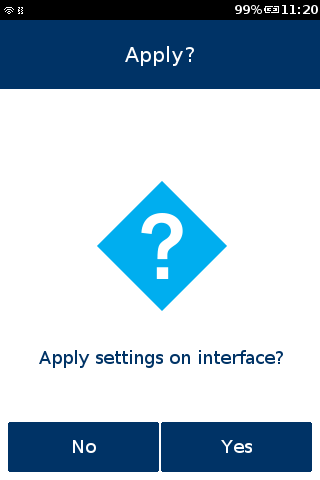 |
| 18. | Select OK | 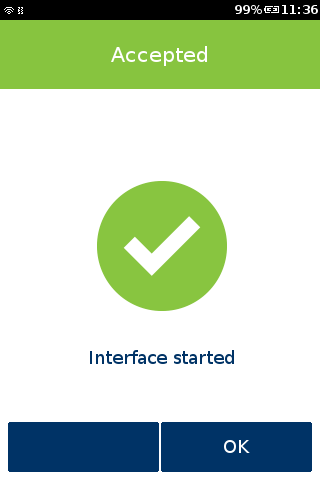 |
| 19. | Press the RED Cancel button 6 times until you reach the Sale screen. | |