APM Activations
The DNA Merchant Portal allows merchants to manually add Alternative Payment Methods (APMs) to their payment offering.
Activating Apple Pay
Step One
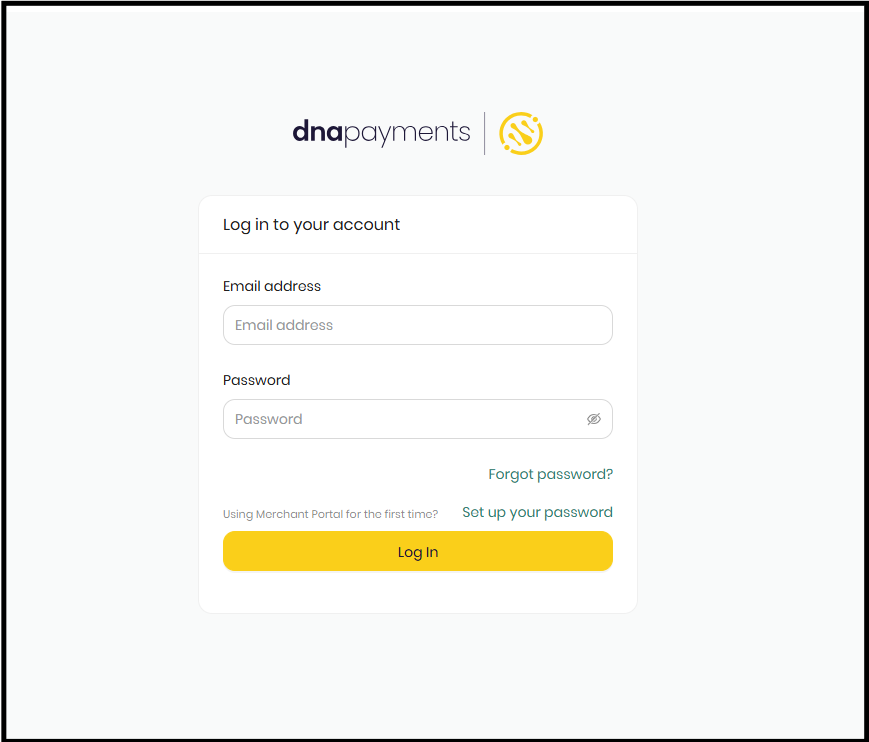
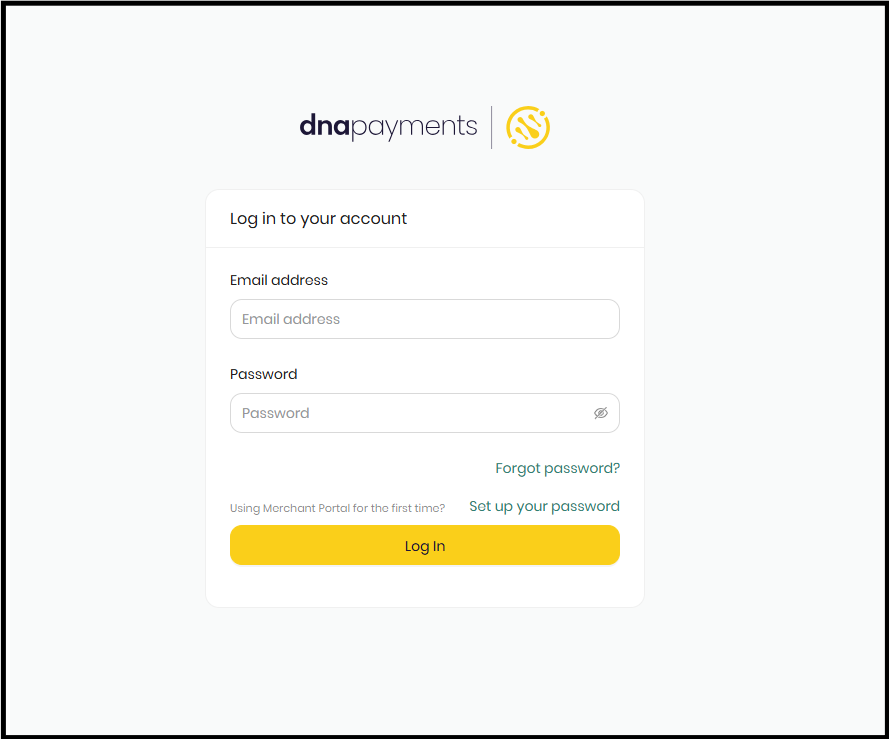
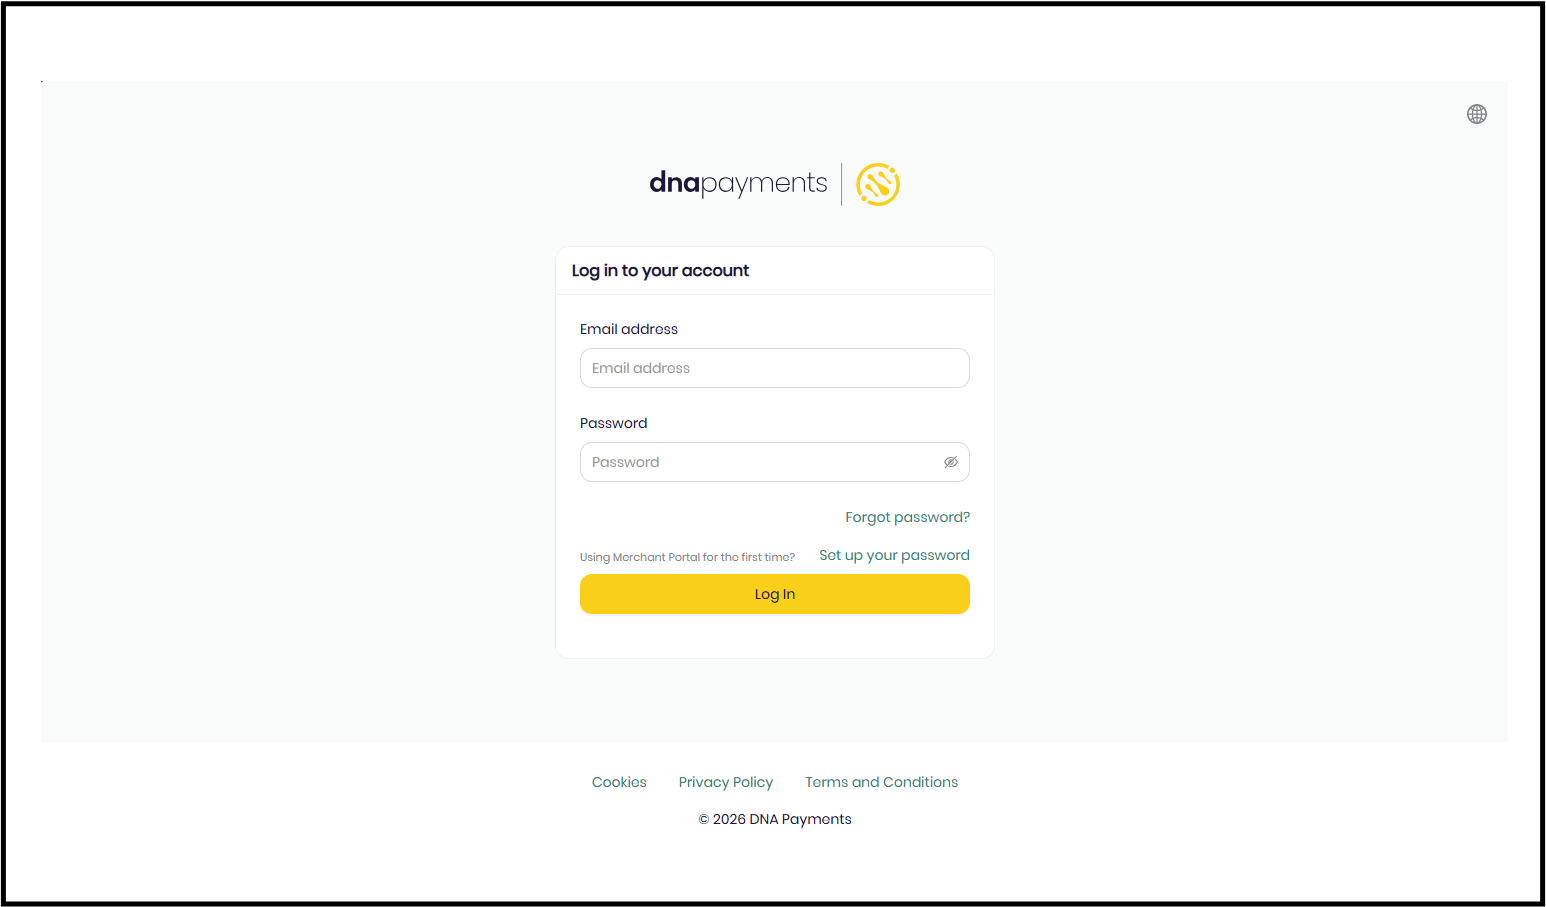
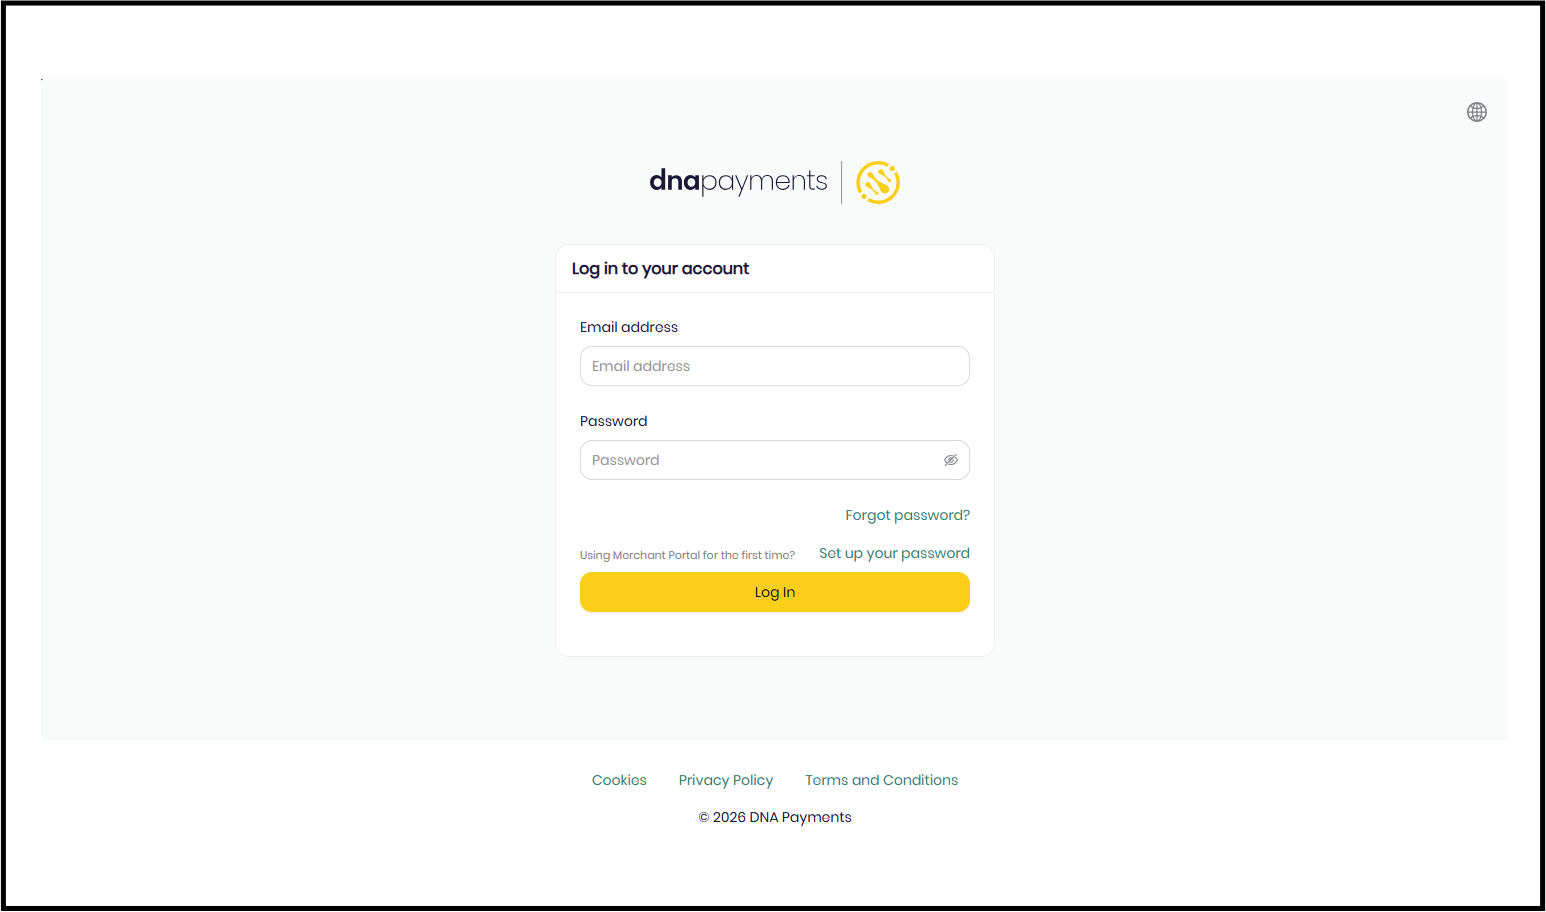
Log into the Merchant Portal.
Step Two
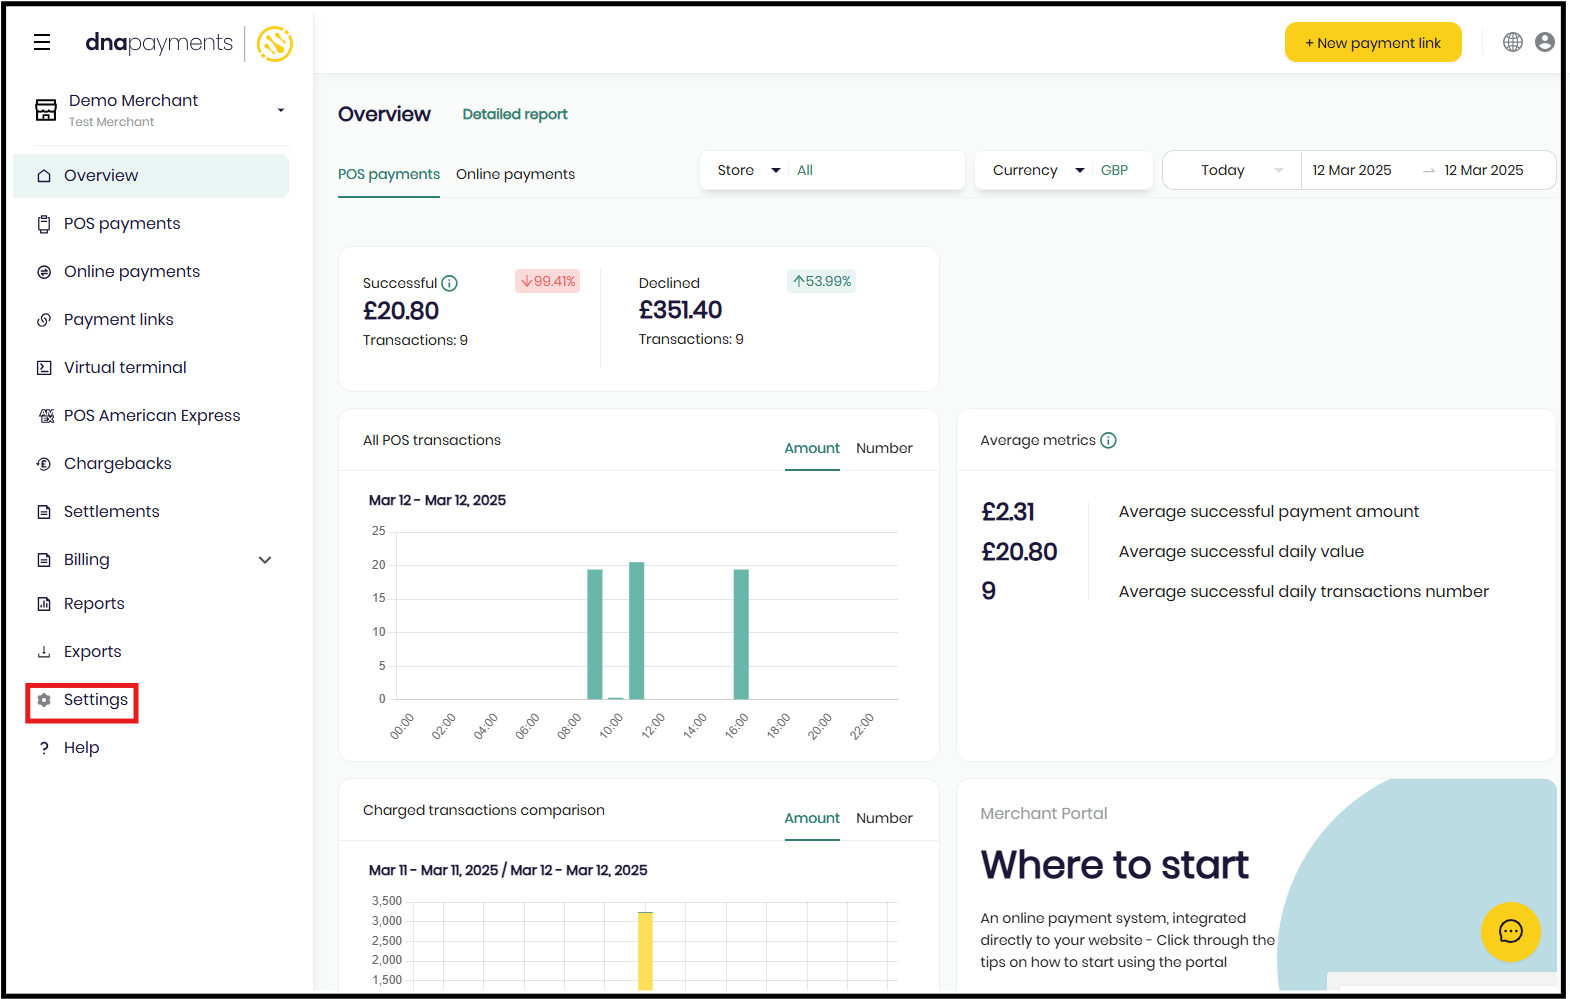
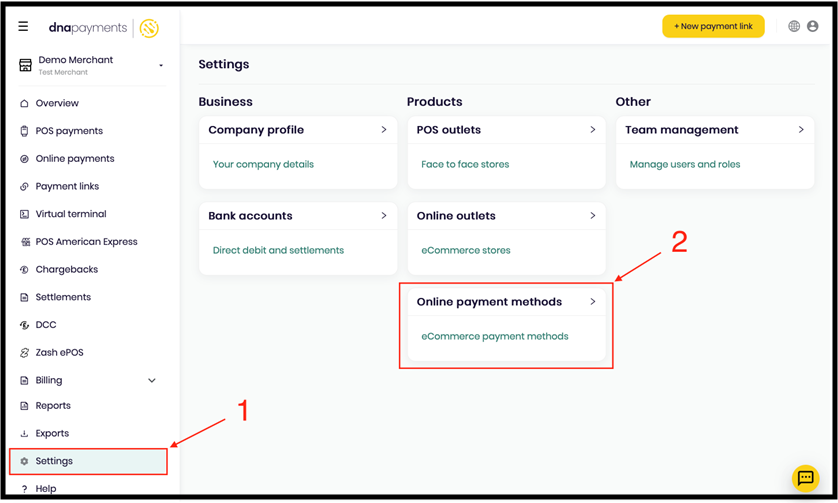
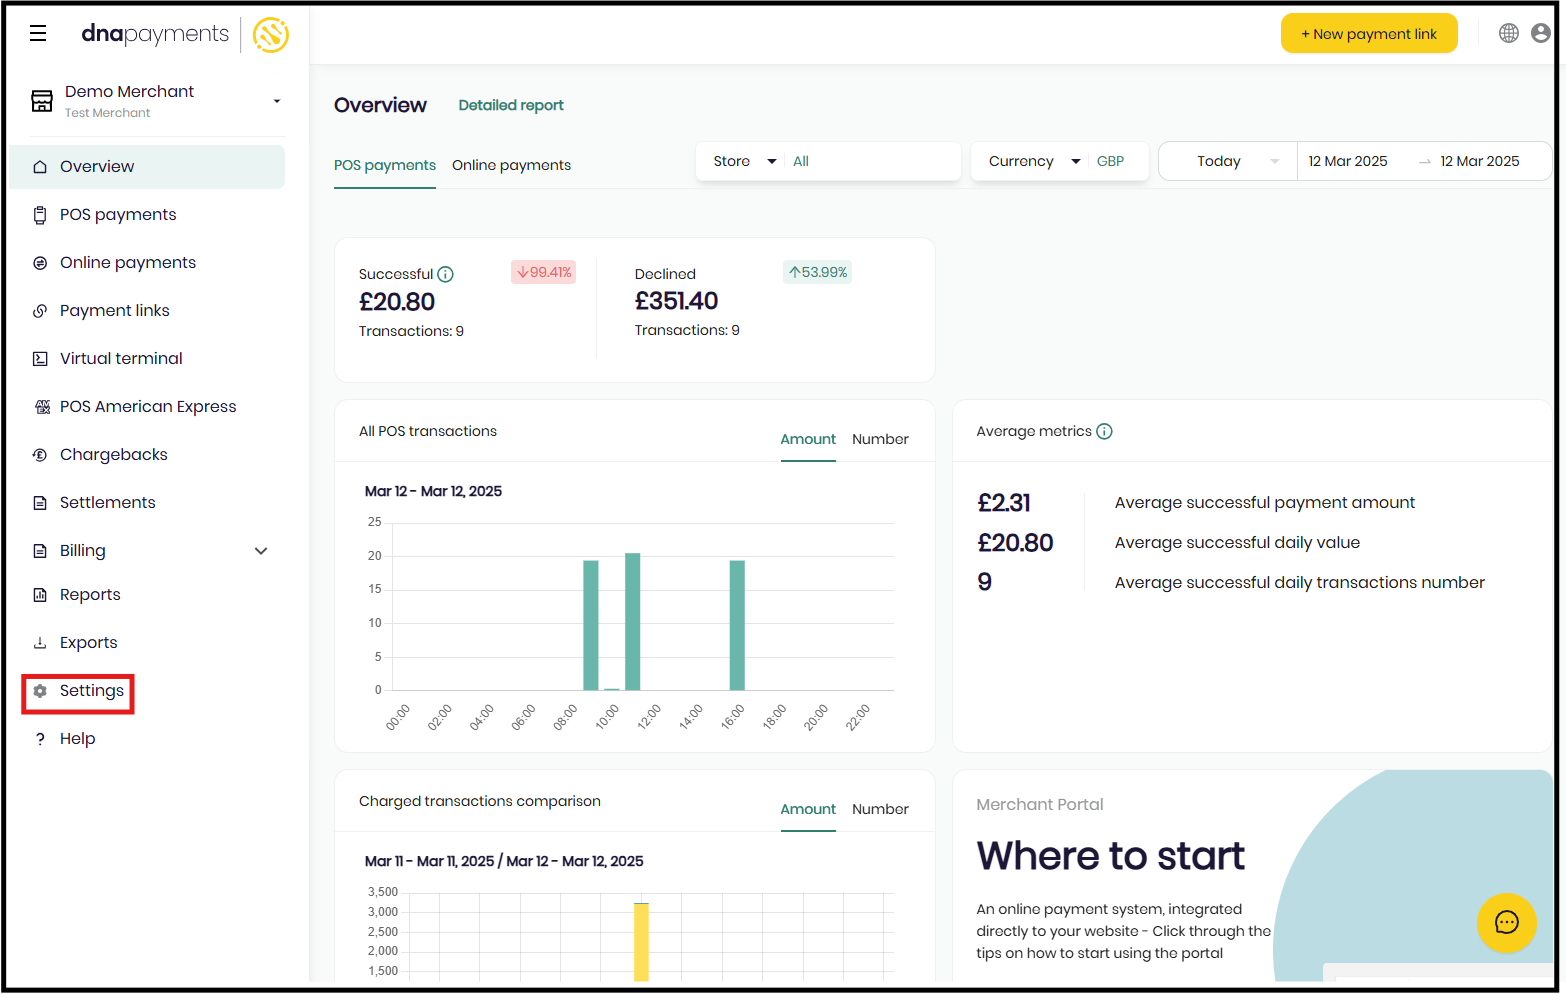
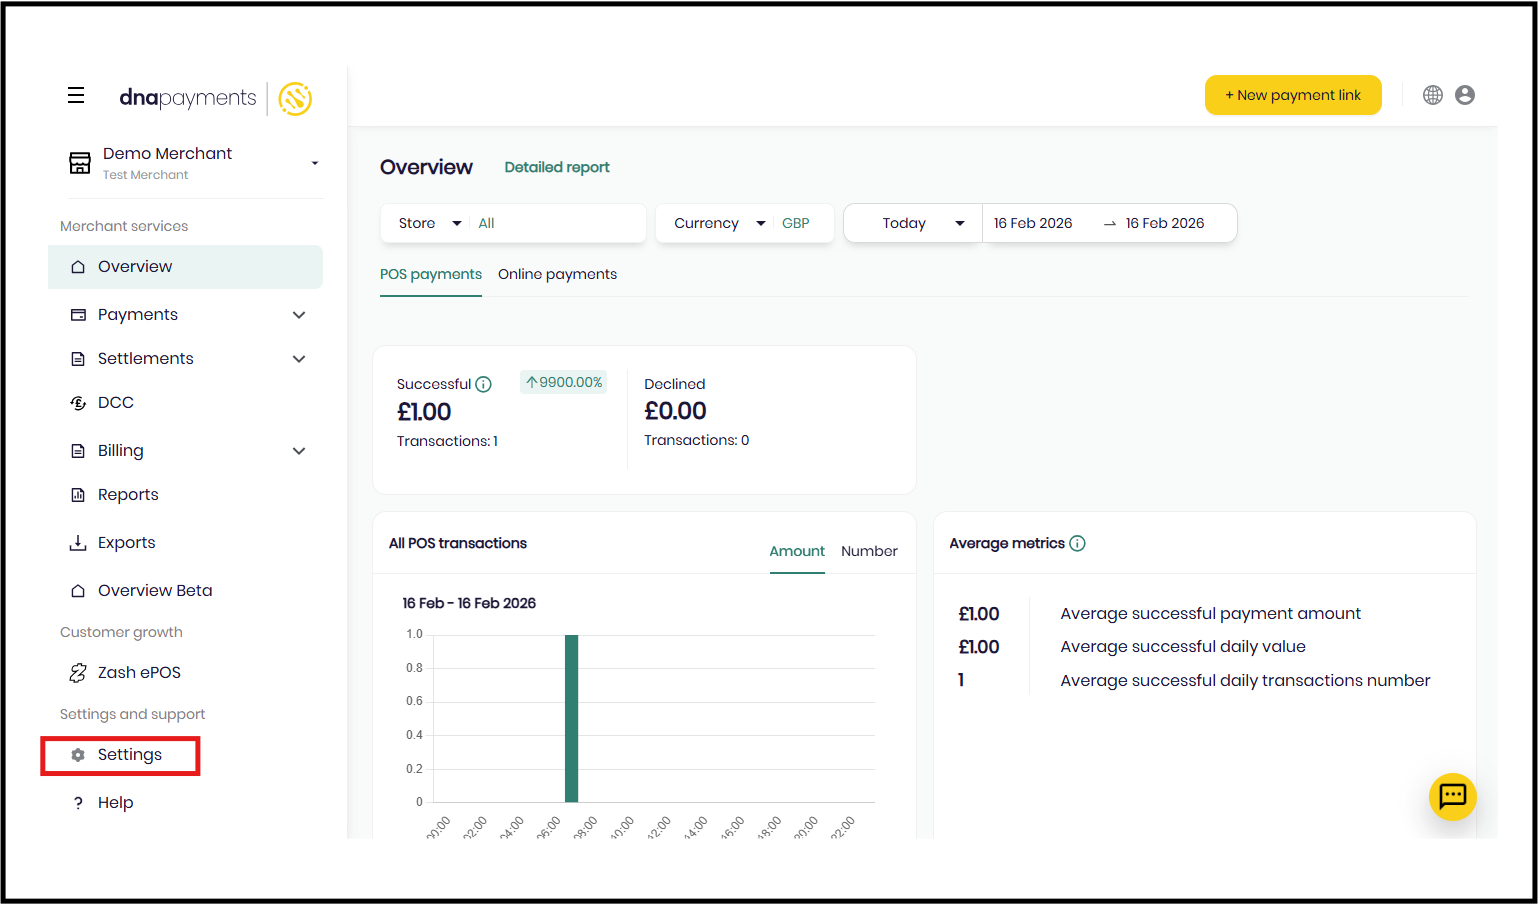
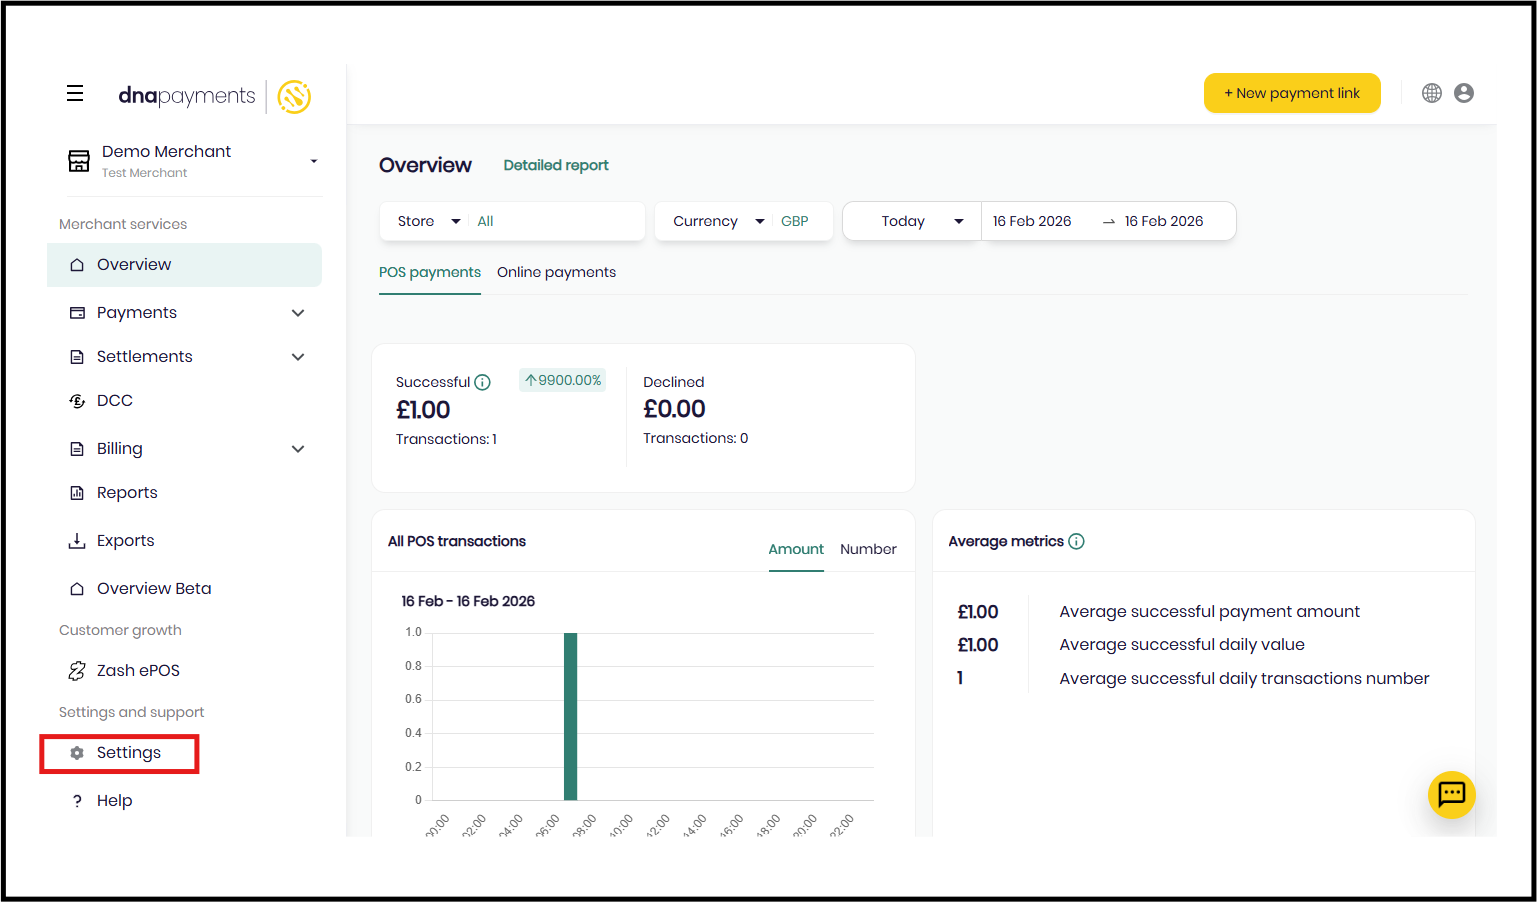
Once you have logged in, click on the settings ‘cog’ icon.
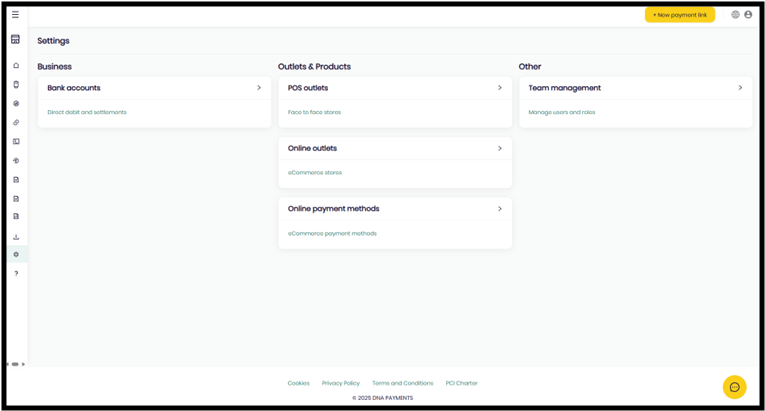
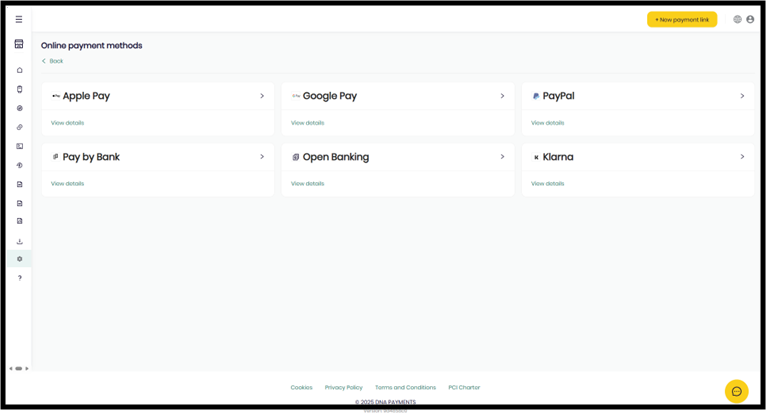
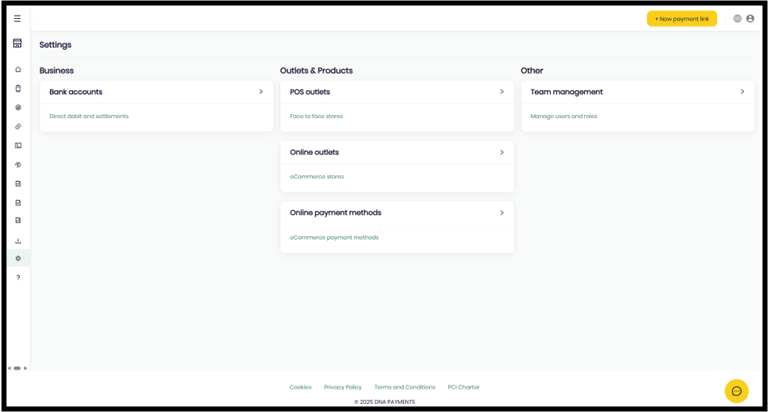
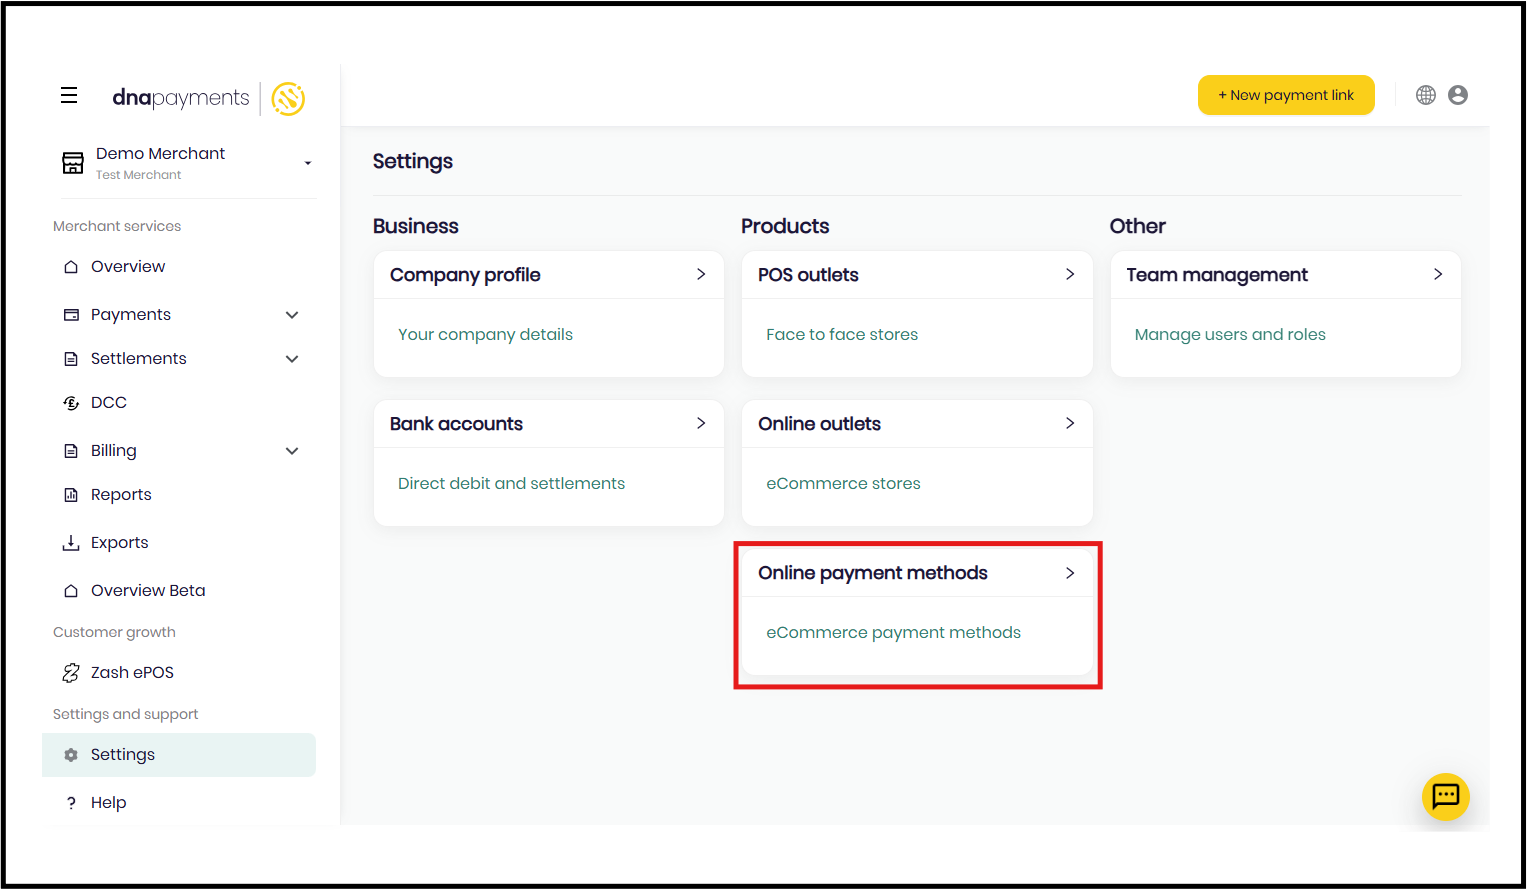
Select ‘Online payment methods‘.
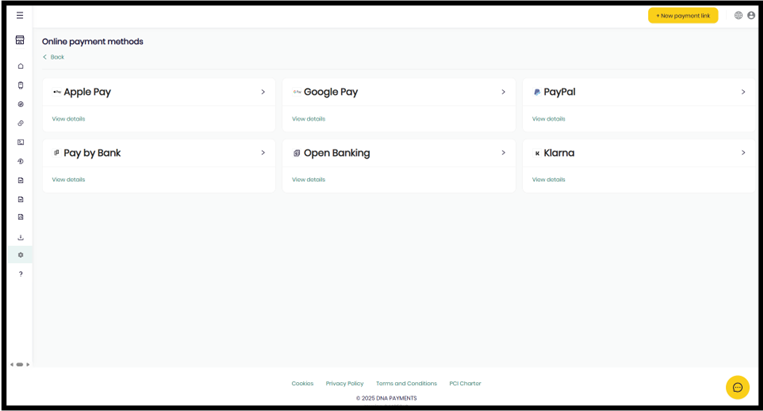
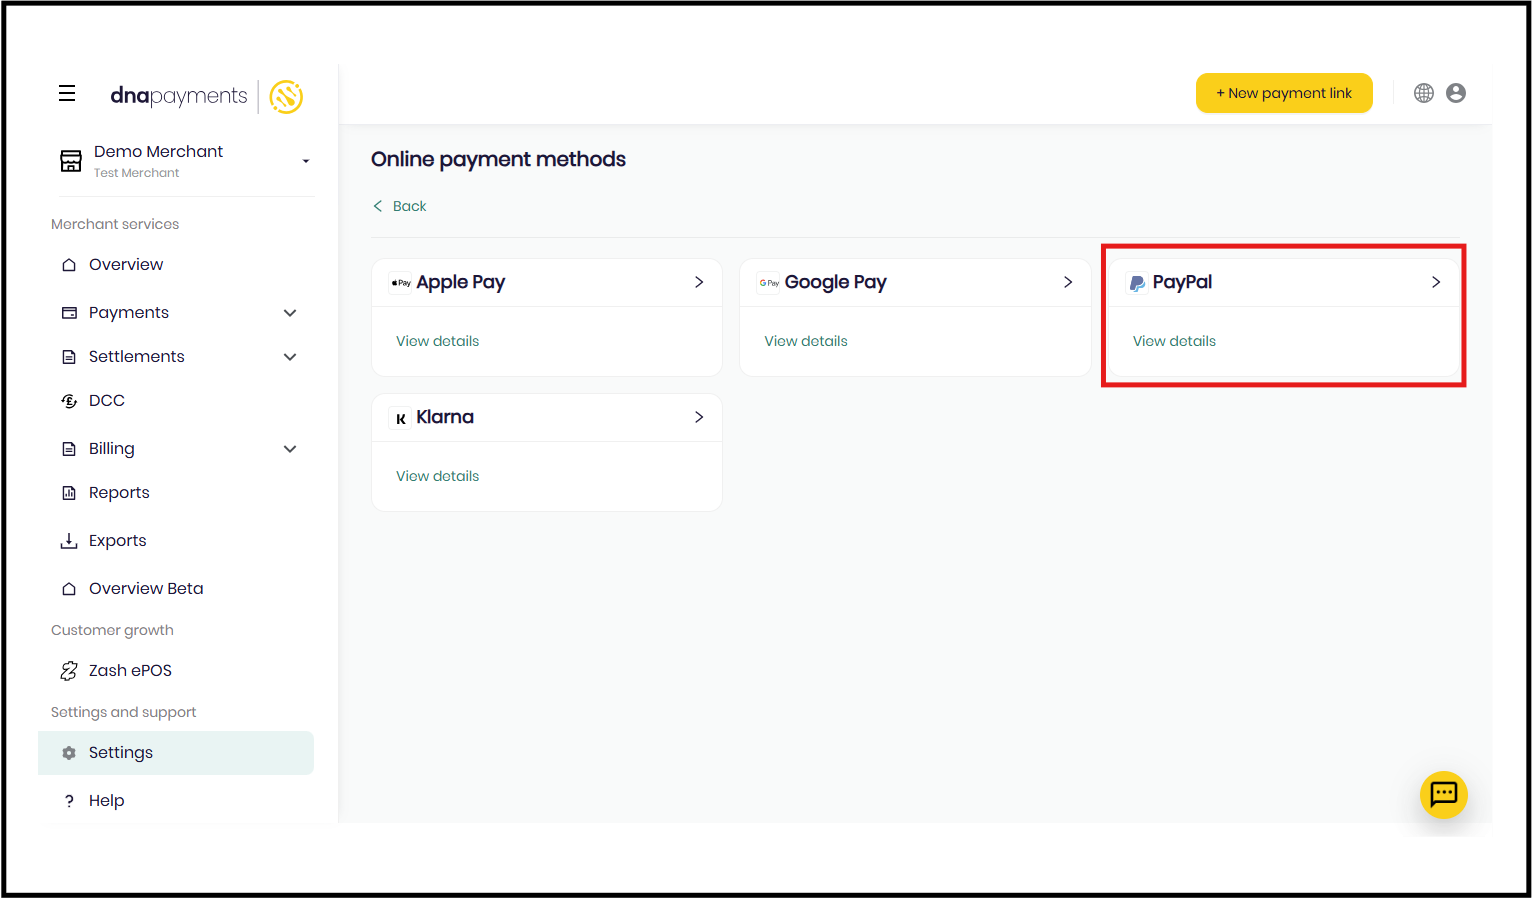
Then, click Apple Pay.
Step Three (for Hosted Fields and iFrame Lightbox integrations only)
Click + Add new domain and follow the instructions:
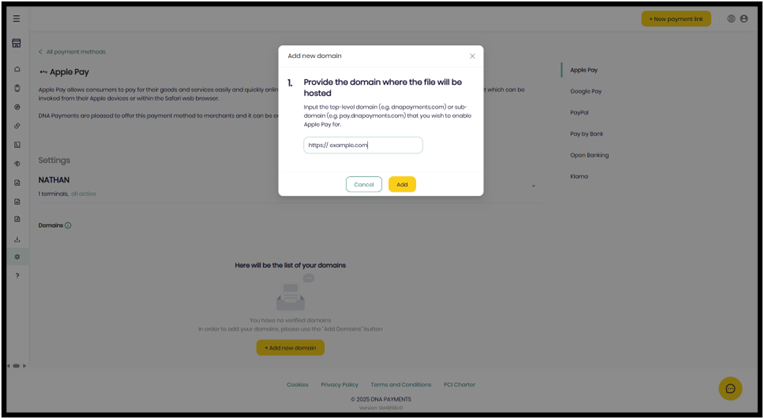
- Enter the top-level domain (e.g., dnapayments.com) or sub-domain (e.g., pay.dnapayments.com) where you want to enable Apple Pay.
- Download the domain association file and host it at https://[YOUR_DOMAIN_NAME]/.well-known/apple-developer-merchantid-domain-association
- Click Add.
- Apple will verify the domain by retrieving this file. If successful, your domain will appear in the Domains list.
- No domain verification is required for Full Redirect integration.
- For Hosted Fields and iFrame Lightbox integrations, you must register and verify all domains and subdomains where the Apple Pay button will be displayed.
- Domains cannot be behind a proxy or redirect and must be accessible to the Apple's servers listed in Allow Apple IP Addresses for Domain Verification.
Register Domain | DNA Payments
Preparing Merchant Domains for Verification | Apple Developer Documentation
Step Four (All Integrations)
Once you have registered your domains with Apple (if applicable) you need to enable Apple Pay within the Merchant Portal.
Activating Google Pay
Step One
Log into the Merchant Portal.
Step Two
Once you have logged in click on the settings ‘cog’ icon.
Step Three
Then, click on Online Payment Methods.
Step Four
Click on Google Pay.
Step Five
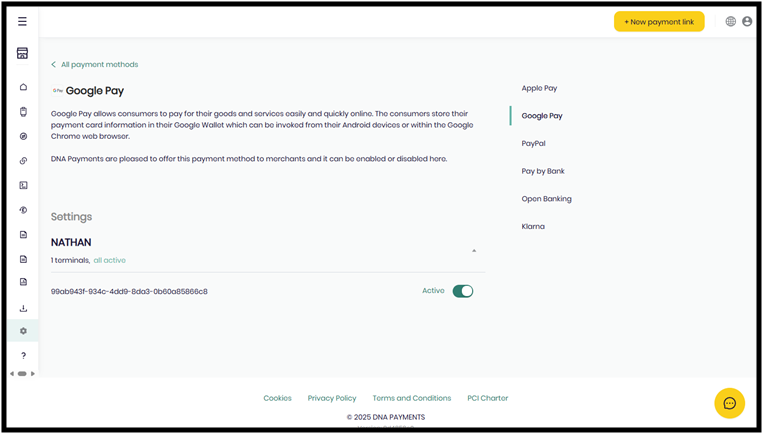
Click the Settings dropdown. If Google Pay is not enabled, click on the "Active" radio button to enable it.
Activating Paypal
Paypal is activated by onboarding a Paypal Business account. To do so, please follow the steps bellow.
Step One
Log into the Merchant Portal.
Step Two
Once you have logged in click on the settings ‘cog’ icon.
Step Three
Then, click on Online Payment Methods.
Step Four
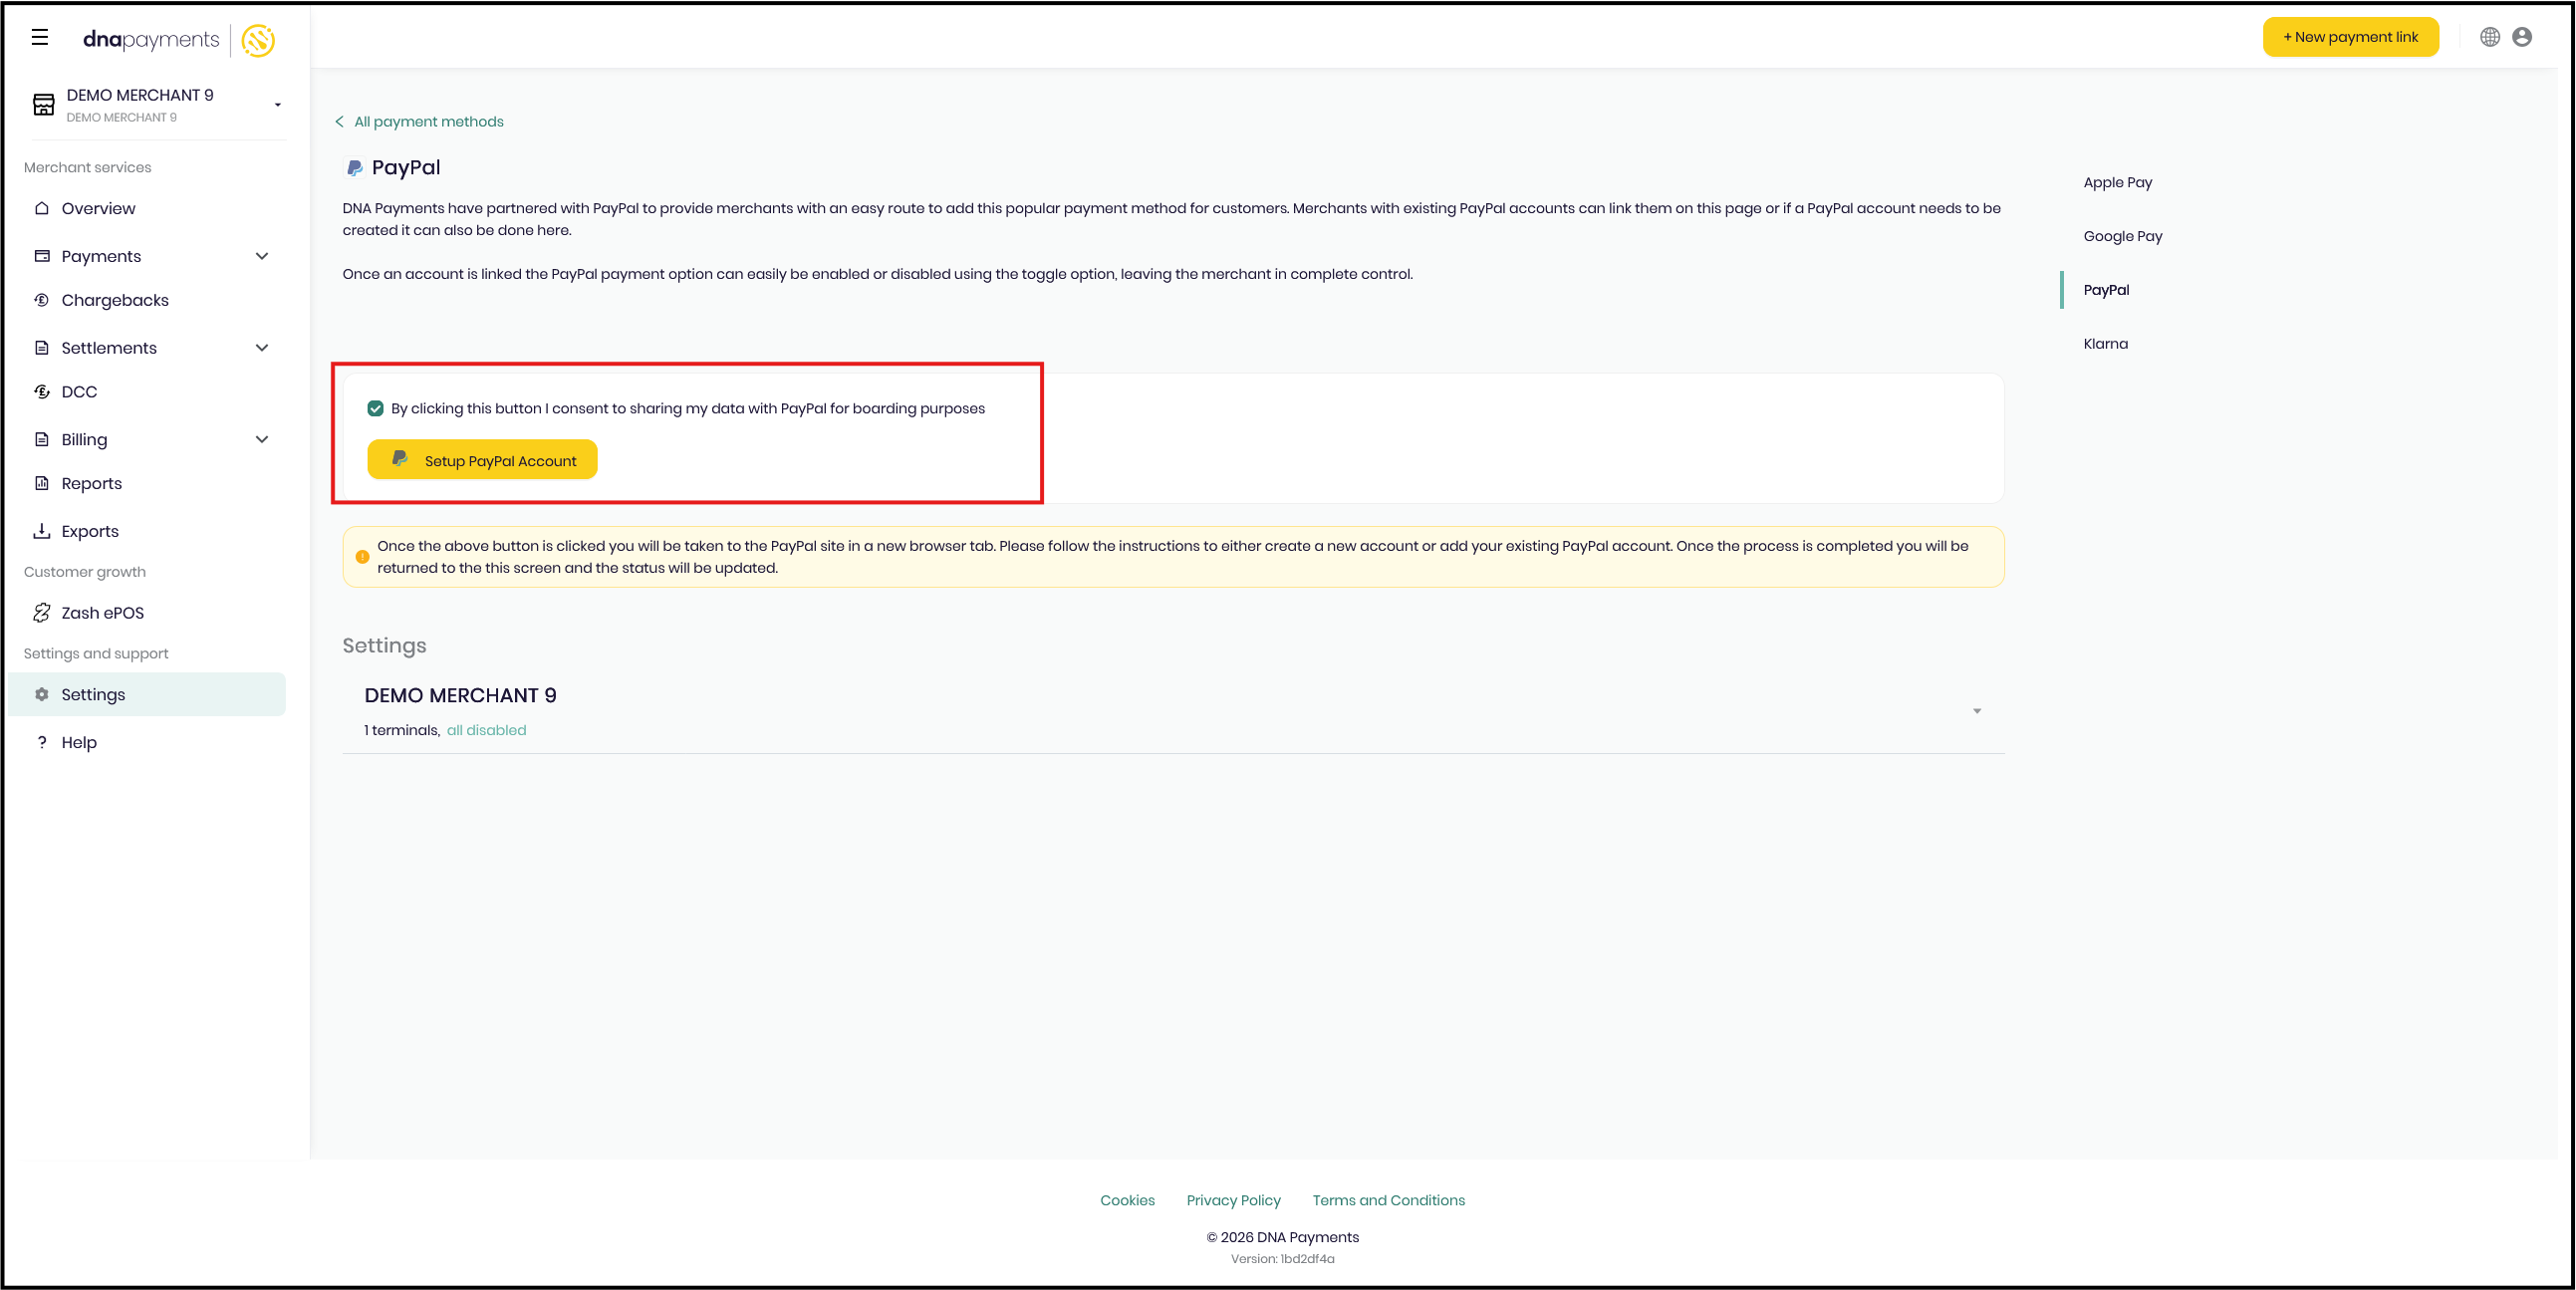
Click on Paypal.
Step Five
Tick the checkbox to consent to us sharing your data with PayPal for boarding purposes. Then click the button "Setup PayPal Account" button.
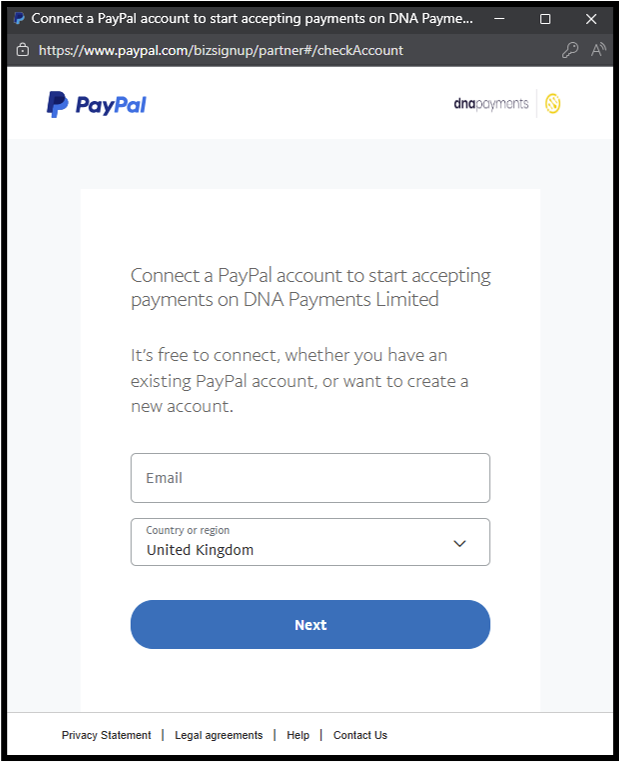
Step Six
A pop-up window will appear prompting you to confirm the email address of the PayPal account you wish to use with your DNA Account.
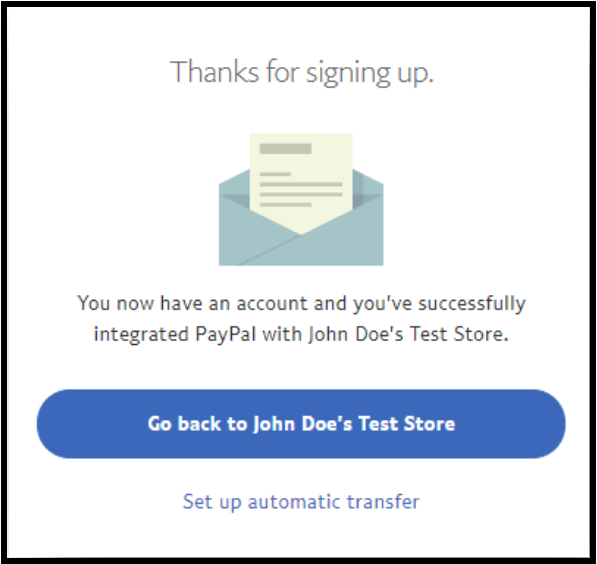
Step Seven
After a short wait the pop-up window will confirm the connection has been made and that you can close the window. Once the window is closed you will be returned to the PayPal Configuration screen with a confirmation that You are ready to accept PayPal payments.
Adding a PayPal account automatically activates it against all stores and terminal ID’s, if you only want it adding to specific stores or terminal ID’s you will need to manually disable them by following the steps in the Disabling PayPal Payment Method instructions.
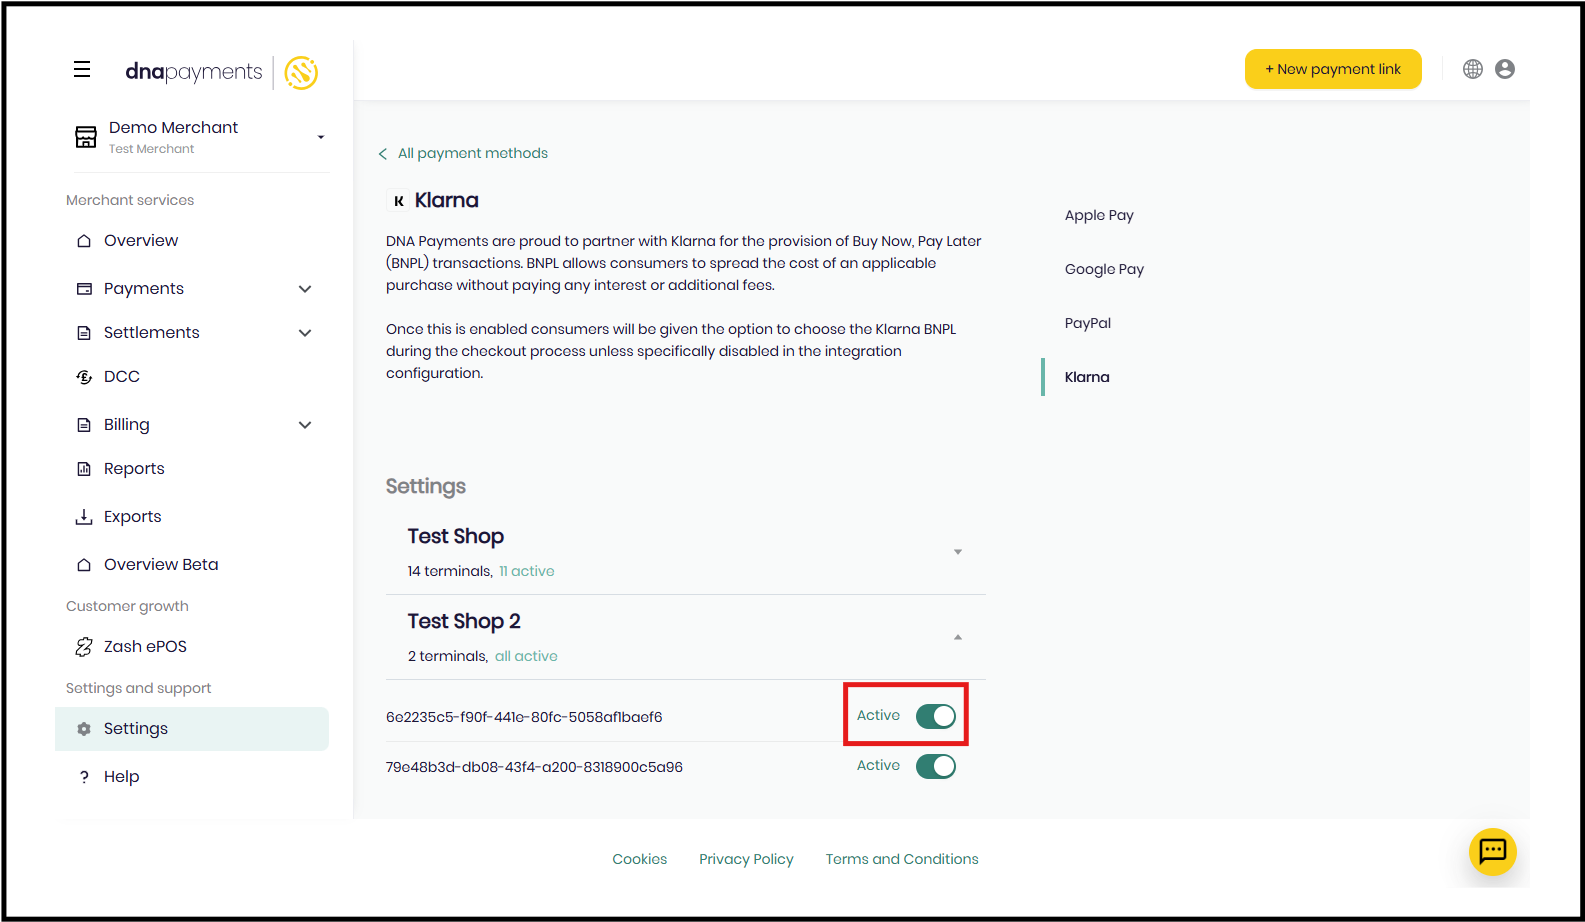
Activating Klarna
Before beginning to activate this payment feature, this will need to be activated on you account configuration at integration level. In order to have the payment method enabled, you will need to inform our either your account manager or the Solutions team, so that the configuration can be completed in the backend. Once this has been completed you will be able to activate Klarna manually.
Step One
Log into the Merchant Portal.
Step Two
Once you have logged in click on the settings ‘cog’ icon.
Step Three
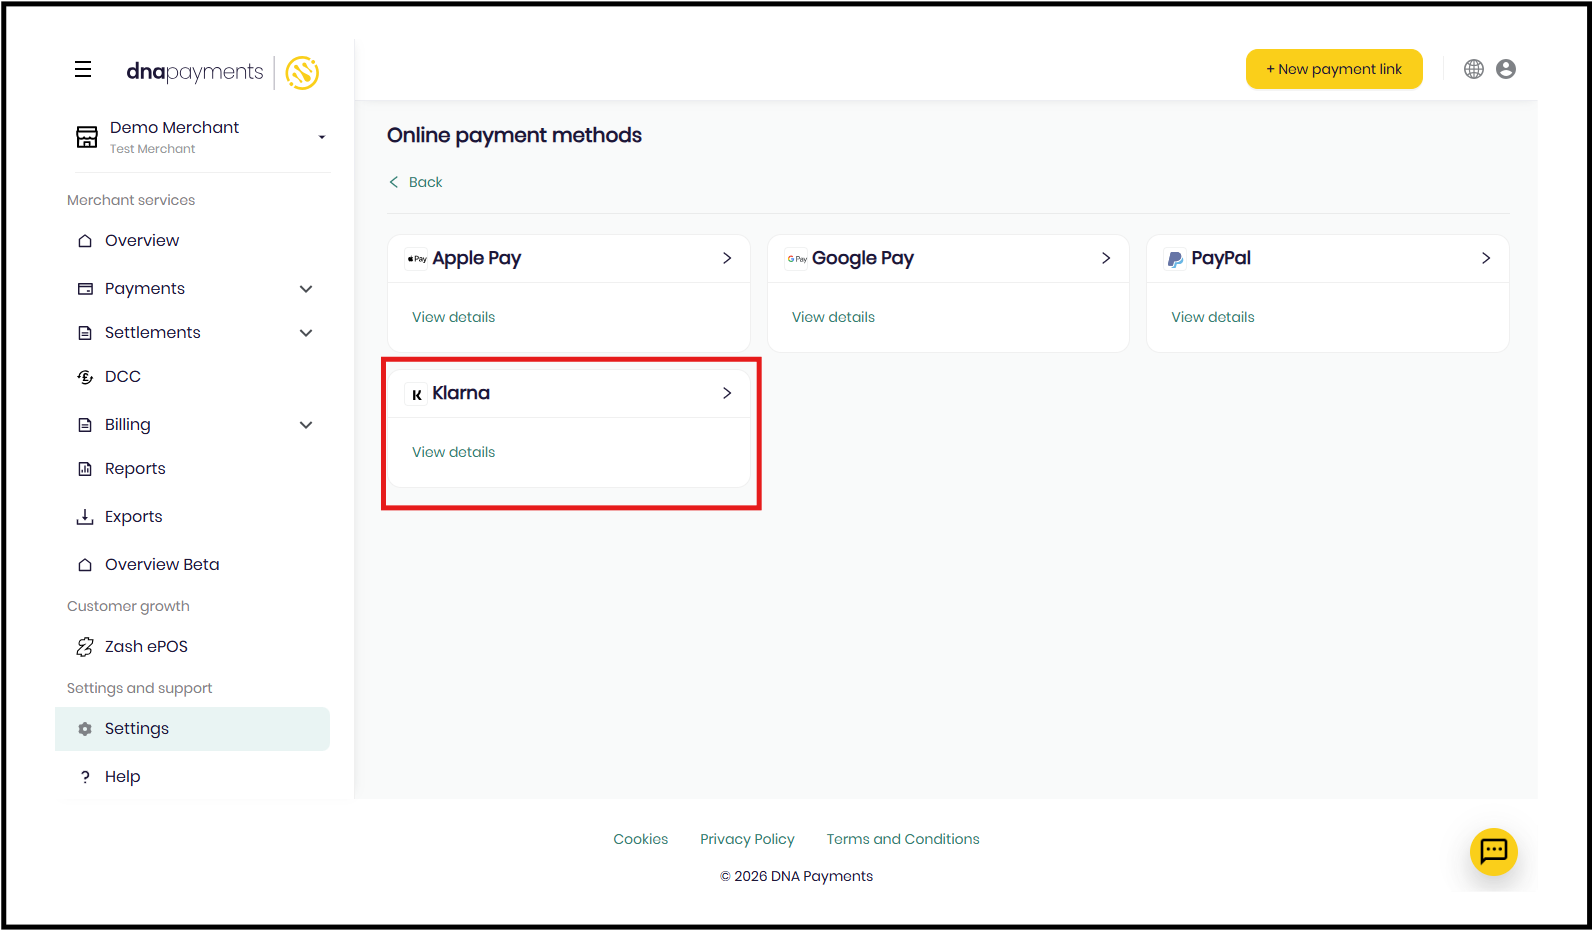
Then, click on Online Payment Methods.

Step Four
Click on Klarna.
Step Five
Activate the terminal(s) set up for your store(s).