Magento 2 Setup Guide
Introduction
DNA Payments are committed to providing secure eCommerce processing to as many merchants as possible. One of the ways this can be achieved is by developing plugins for the global eCommerce marketplaces - allowing merchants to add payment processing to their websites quickly with minimal setup required.
Reflecting this commitment DNA Payments are pleased to offer the DNA Payments plugin for the Magento 2 platform.
Magento 2 is the latest incarnation of the leading enterprise-class ecommerce platform, utilised by over 200,000 online retailers. In fact, it is estimated that 1 in 4 businesses are using the Magento software.
This guide details the steps needed to configure the DNA Payments plugin for Magento 2.
Plugin Pre-requisites
Before starting the setup, process there are a small number of pre-requisites which need to be in place.
- Create a merchant account with DNA Payments - if this has not already been done please visit https://signup.dnapayments.com to complete an application.
- Create an account with Magento 2 and setup your test and live websites.
- Obtain the installation resources and credentials.
Magento 2 Requirements
To function correctly the DNA Payments Magento plugin has a few minimum requirements as shown below.
- PHP
- Web Services
- Database
| Product | Minimum Version |
|---|---|
| Magento 2.3.0 | Version 7.1.3+ or 7.2.x |
| Magento 2.3.3 | Version 7.3 |
| Magento 2.4.6 | Version 8.1 |
| Magento 2.4.7 | Version 8.1 |
| Product | Minimum Version |
|---|---|
| Apache | Version 2.2 or 2.4 |
| Nginx | Version 1.8 |
| Product | Minimum Version |
|---|---|
| MySQL | Version 5.6 or 5.7 |
| MariaDB | Version 10.4+ |
Credentials
- Test
- Live
| Credential | Description |
|---|---|
| Test Client ID | ID issued by DNA Payments for each test merchant. |
| Test Client Secret | Secret issued by DNA Payments for each test merchant. |
| Test Terminal ID | Test terminal ID issued by DNA Payments - unique to each merchant site. |
| Credential | Description |
|---|---|
| Live Client ID | ID issues by DNA Payments for each live merchant. |
| Live Client Secret | Secret issued by DNA Payments for each live merchant. |
| Live Terminal ID | Live terminal ID issued by DNA Payments - unique to each merchant site. |
Should any of the above details be missing please contact DNA Payments.
Installing the DNA Payments Plugin
DNA Payments are currently working with Magento to add the plugin to the Magento 2 store. Until this has been completed the plugin will need to be manually installed.
All required resources for the installation are located at https://github.com/DNA-Payments/magento-v2
The steps for the installation are detailed below.
Using Composer
Installation
| No. | Instruction | Composer Command |
|---|---|---|
| 1 | Install payment module. | composer require dna/magento-2 |
| 2 | Upgrade modules. | php bin/magento setup:upgrade php bin/magento setup:di:compile |
| 3 | Clean Cache. | php bin/magento cache:flush php bin/magento cache:clean |
| 4 | Compile and deploy the module’s static files in Magento in production mode. | php bin/magento setup:di:compile php bin/magento setup:static-content:deploy |
Upgrades
| No. | Instruction | Composer Command |
|---|---|---|
| 1 | Clear composer cache | composer clearcache |
| 2 | Uninstall the old version of payment module | composer remove dna/magento-2 |
| 3 | Install payment module. | composer require dna/magento-2 |
| 4 | Upgrade modules. | php bin/magento setup:upgrade php bin/magento setup:di:compile |
| 5 | Clean Cache. | php bin/magento cache:flush php bin/magento cache:clean |
| 6 | Compile and deploy the module’s static files in Magento in production mode. | php bin/magento setup:di:compile php bin/magento setup:static-content:deploy |
Uninstallation
| No. | Instruction | Composer Command |
|---|---|---|
| 1 | Uninstall the old version of payment module | composer remove dna/magento-2 |
| 2 | Upgrade modules. | php bin/magento setup:upgrade php bin/magento setup:di:compile |
| 3 | Clean Cache. | php bin/magento cache:flush php bin/magento cache:clean |
| 4 | Compile and deploy the module’s static files in Magento in production mode. | php bin/magento setup:di:compile php bin/magento setup:static-content:deploy |
Configuring the DNA Payments Plugin
Now the installation has been completed the DNA Payments plugin needs to be configured with the test or live credentials as outlined in this page.
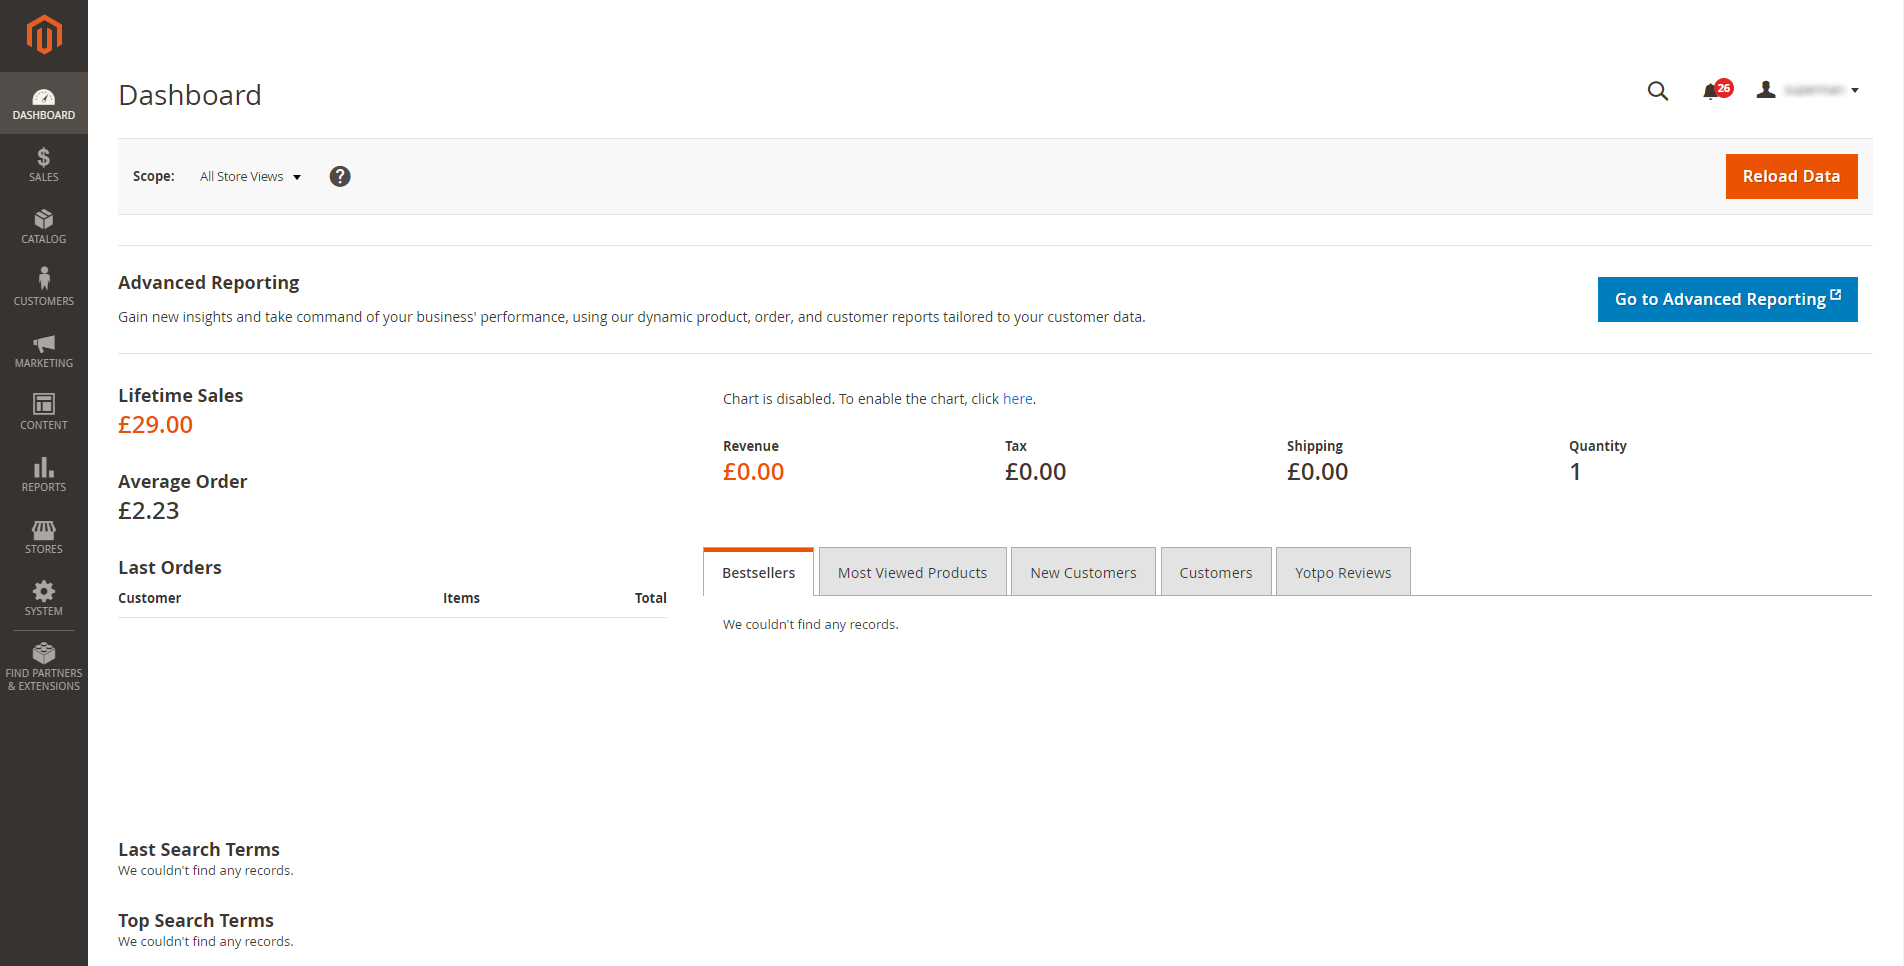
Step 1
From the dashboard go to Stores > Configuration > Sales >Payment Methods
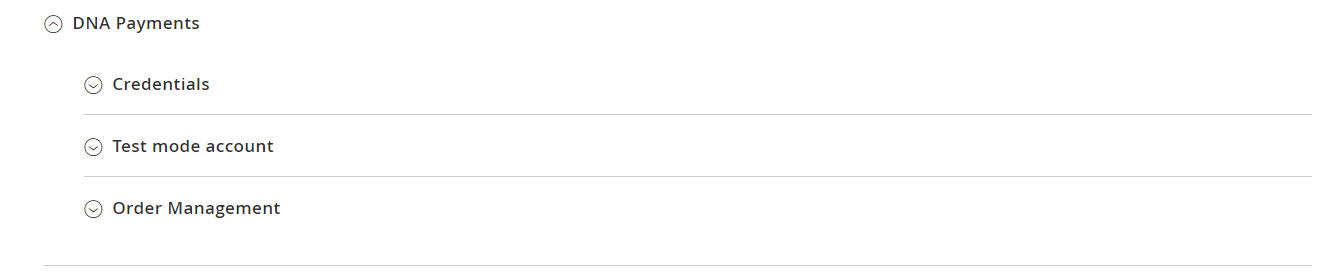
Step 2
Under the Payment Methods option all available payment methods will be displayed. Expand DNA Payments and three options will appear as shown above.
Step 3
Firstly, expand Credentials. Enter the details as supplied by DNA Payments.
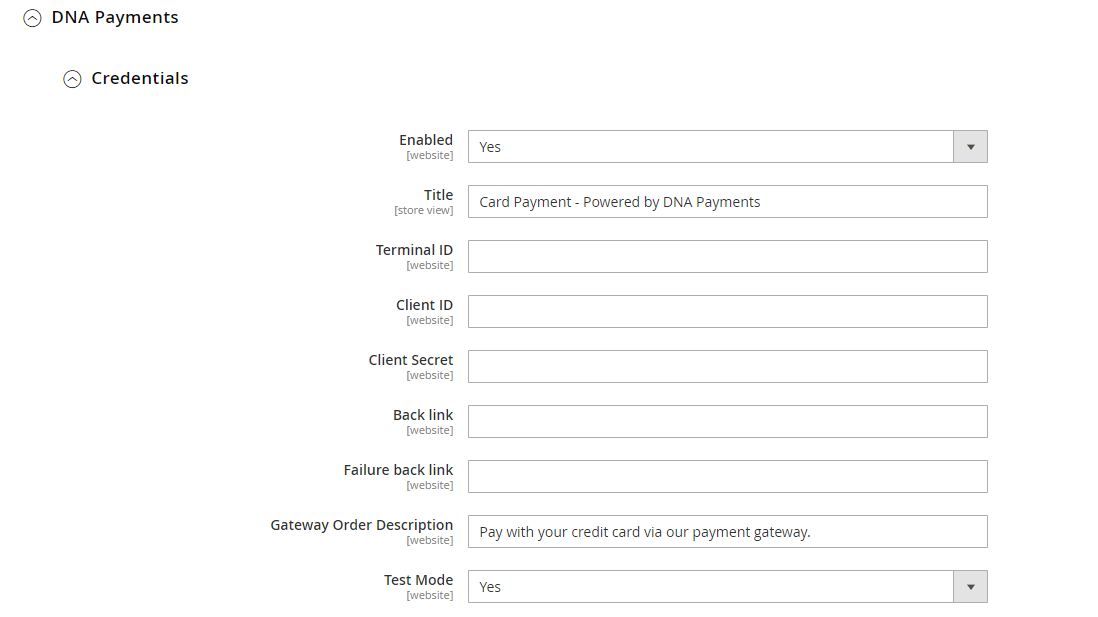
Detailed information about fields
| Field | State | Description |
|---|---|---|
| Enabled | Mandatory | Chooses whether to enable to disable the DNA Payments plugin |
| Title | Mandatory | Descriptive text displayed to the consumer during the checkout process |
| Client ID | Conditional | Mandatory if processing on live. LIVE Client ID issued by DNA Payments |
| Client Secret | Conditional | Mandatory if processing on live. LIVE Secret issued by DNA Payments |
| Terminal ID | Conditional | Mandatory if processing on live. LIVE Terminal ID issued by DNA Payments |
| Back Link | Optional | Tells the DNA Payments plugin where to re-direct the consumer following the completion of a transaction |
| Failure Back Link | Optional | Tells the DNA Payments plugin where to re-direct the consumer following the completion of an unsuccessful transaction. If this field is not populated the ‘Back Link’ will be used for all transactions regardless of result. |
| Gateway Order Description | Mandatory | Message that will appear in the DNA Payments Merchant Portal against every transaction. |
| Test Mode | Conditional | When selected processes all transactions against the DNA Payments test platform |
Step 4
Once the Credentials have been updated the test details need to be configured should the site need to process test transactions (e.g. pre-launch or for QA testing when making site updates). Expand the Test mode account section and enter the information provided.
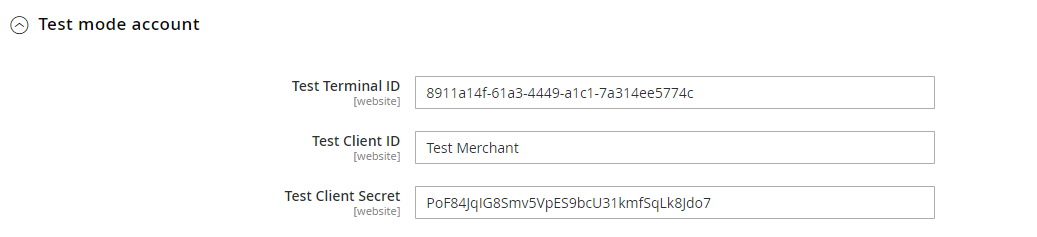
Detailed information about fields
| Field | State | Description |
|---|---|---|
| Test Terminal ID | Conditional | Mandatory if processing on test. Test Terminal ID issued by DNA Payments |
| Test Client ID | Conditional | Mandatory if processing on test. Test Client ID issued by DNA Payments |
| Test Secret | Conditional | Mandatory if processing on test. Test Secret issued by DNA Payments |
Step 5
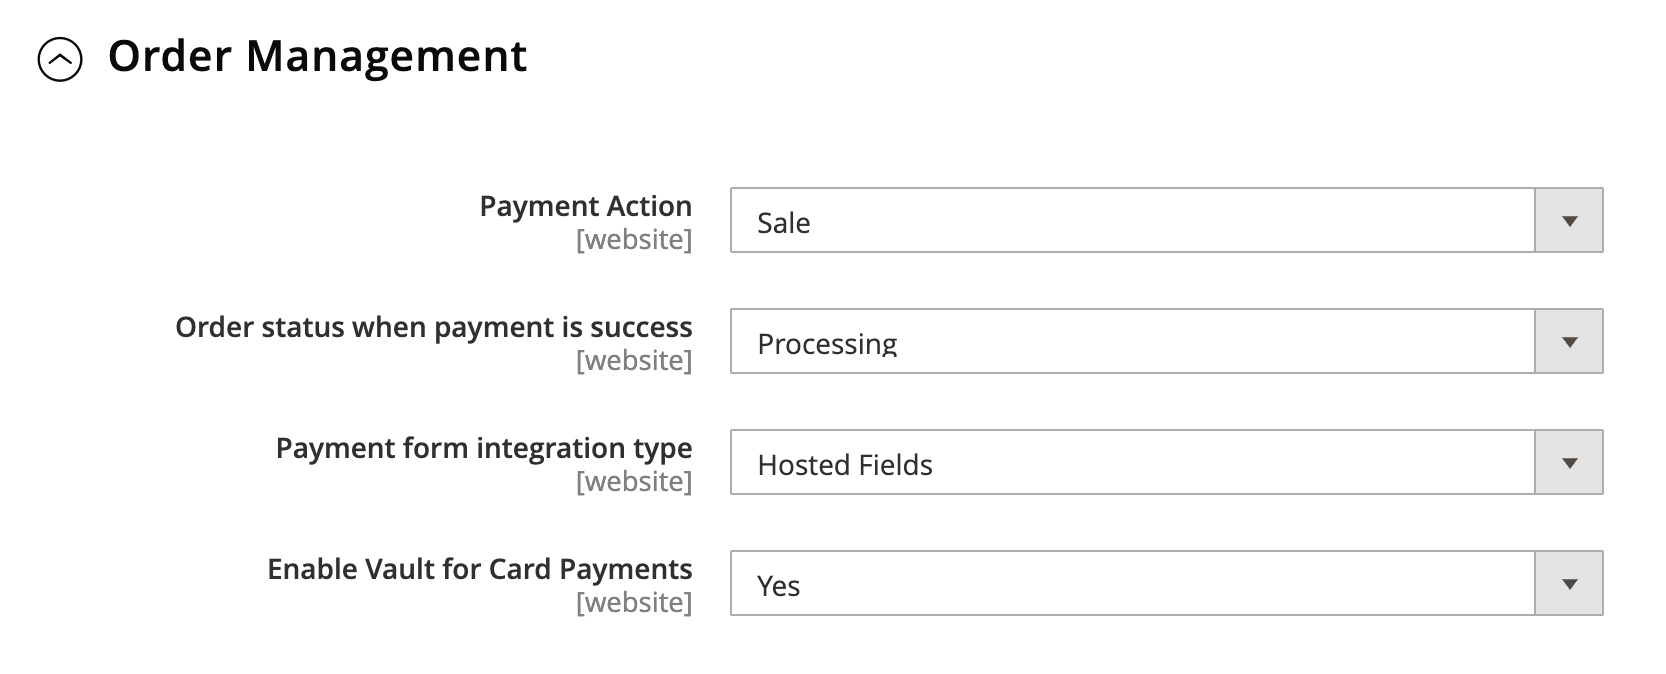
Lastly the plugin requires the user to confirm two options regarding how orders should be managed.
Payment Action - Confirms what type of payment should be processed.
| Action | Description |
|---|---|
| Sale | The payment will be authorised and automatically confirmed. A refund is required to return the money to the consumer if required. |
| Authorization | The payment will be authorised, and the funds reserved. The “Accept Payment” option must be used to accept the payment/charge the card. If the order needs to be cancelled the “Deny Payment” option should be used - the authorisation is then cancelled and a reversal attempted. |
| Default | Configuration stored in the Merchant Portal is used. |
Order Status When Payment is Success - Defines the order status which should be used when the payment has been processed successfully.
Payment Form Integration Type - Defines whether to render the payment form as a new page or an iFrame in the existing page.
Enable Vault for Card Payments - The Enable Vault for Card Payments feature allows customers to securely store their payment card details for future purchases. With this feature enabled, customers can opt to save their card information during checkout, streamlining subsequent purchases by selecting a saved card without re-entering card details. This provides a faster, more convenient checkout experience, promoting customer satisfaction and loyalty.
The functionality that supports iFrame rendering is new. Please ensure you have the very latest Magento Plugin installed if you wish to use this.
This completes the configuration.
Additional Payment Actions
Accepting the Payment
When the “Payment Action” is configured as “Authorization” the payment must be accepted/charged before the goods are dispatched. The process to accept the payment is defined below.
Step 1
Select the order which requires charging by clicking the corresponding “View” option.

Step 2
Choose the “Accept Payment” option to charge the payment card/method used.

Step 3
Press “OK” to confirm the acceptance of the payment.

Step 4
Magento 2 confirms that the payment has been accepted.

Denying a Payment
In scenarios where the order is no longer required and the “Payment Action” is configured as “Authorization” the payment must be cancelled. The process to charge the order is defined below.
Step 1
Select the order which requires charging by clicking the corresponding “View” option.
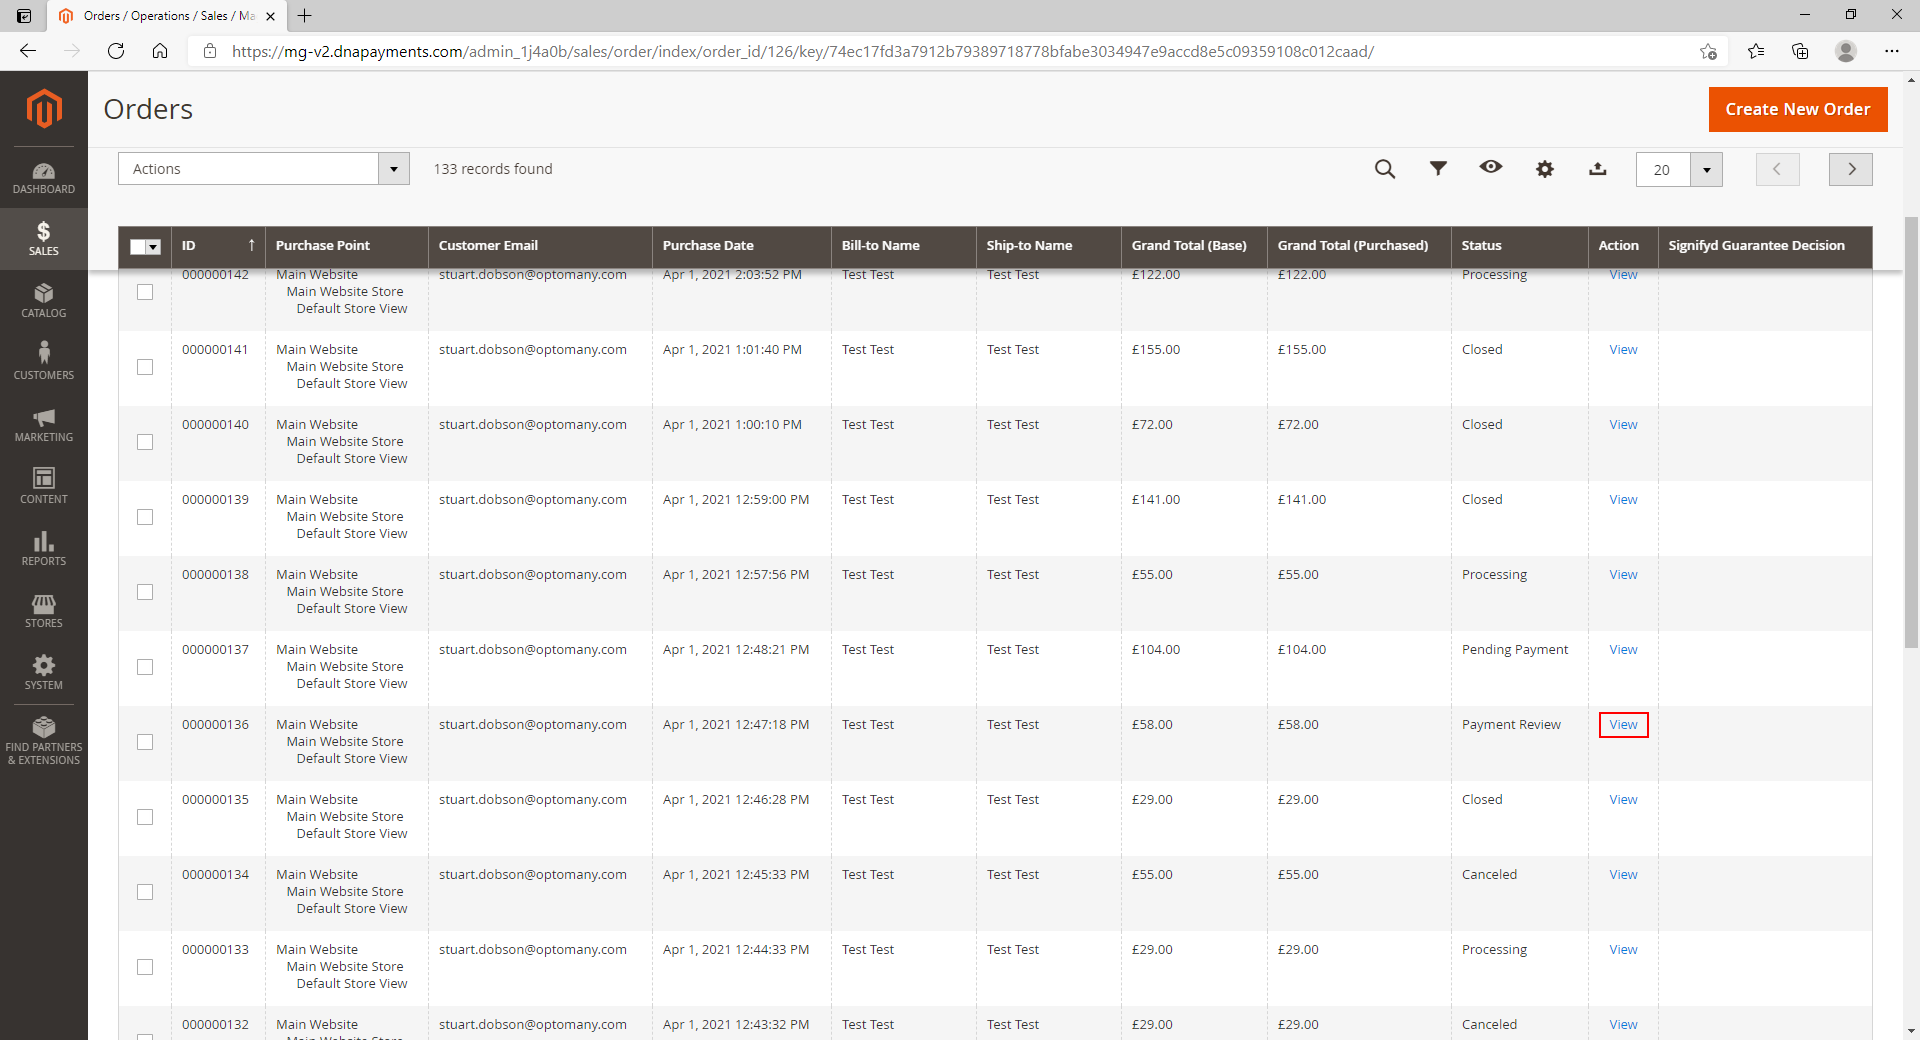
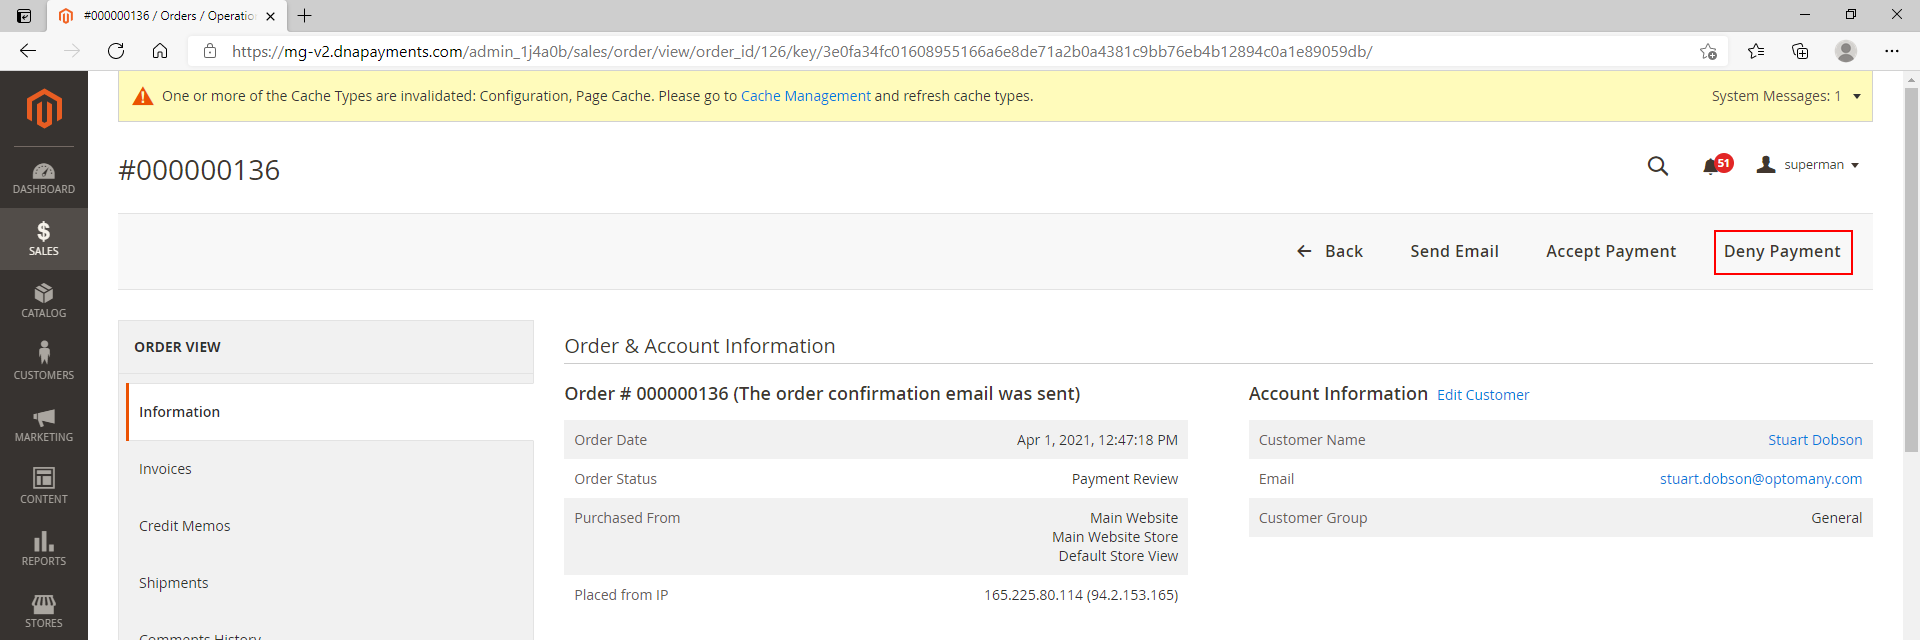
Step 2
Choose the “Deny Payment” option to return the funds to the payment card/method used.
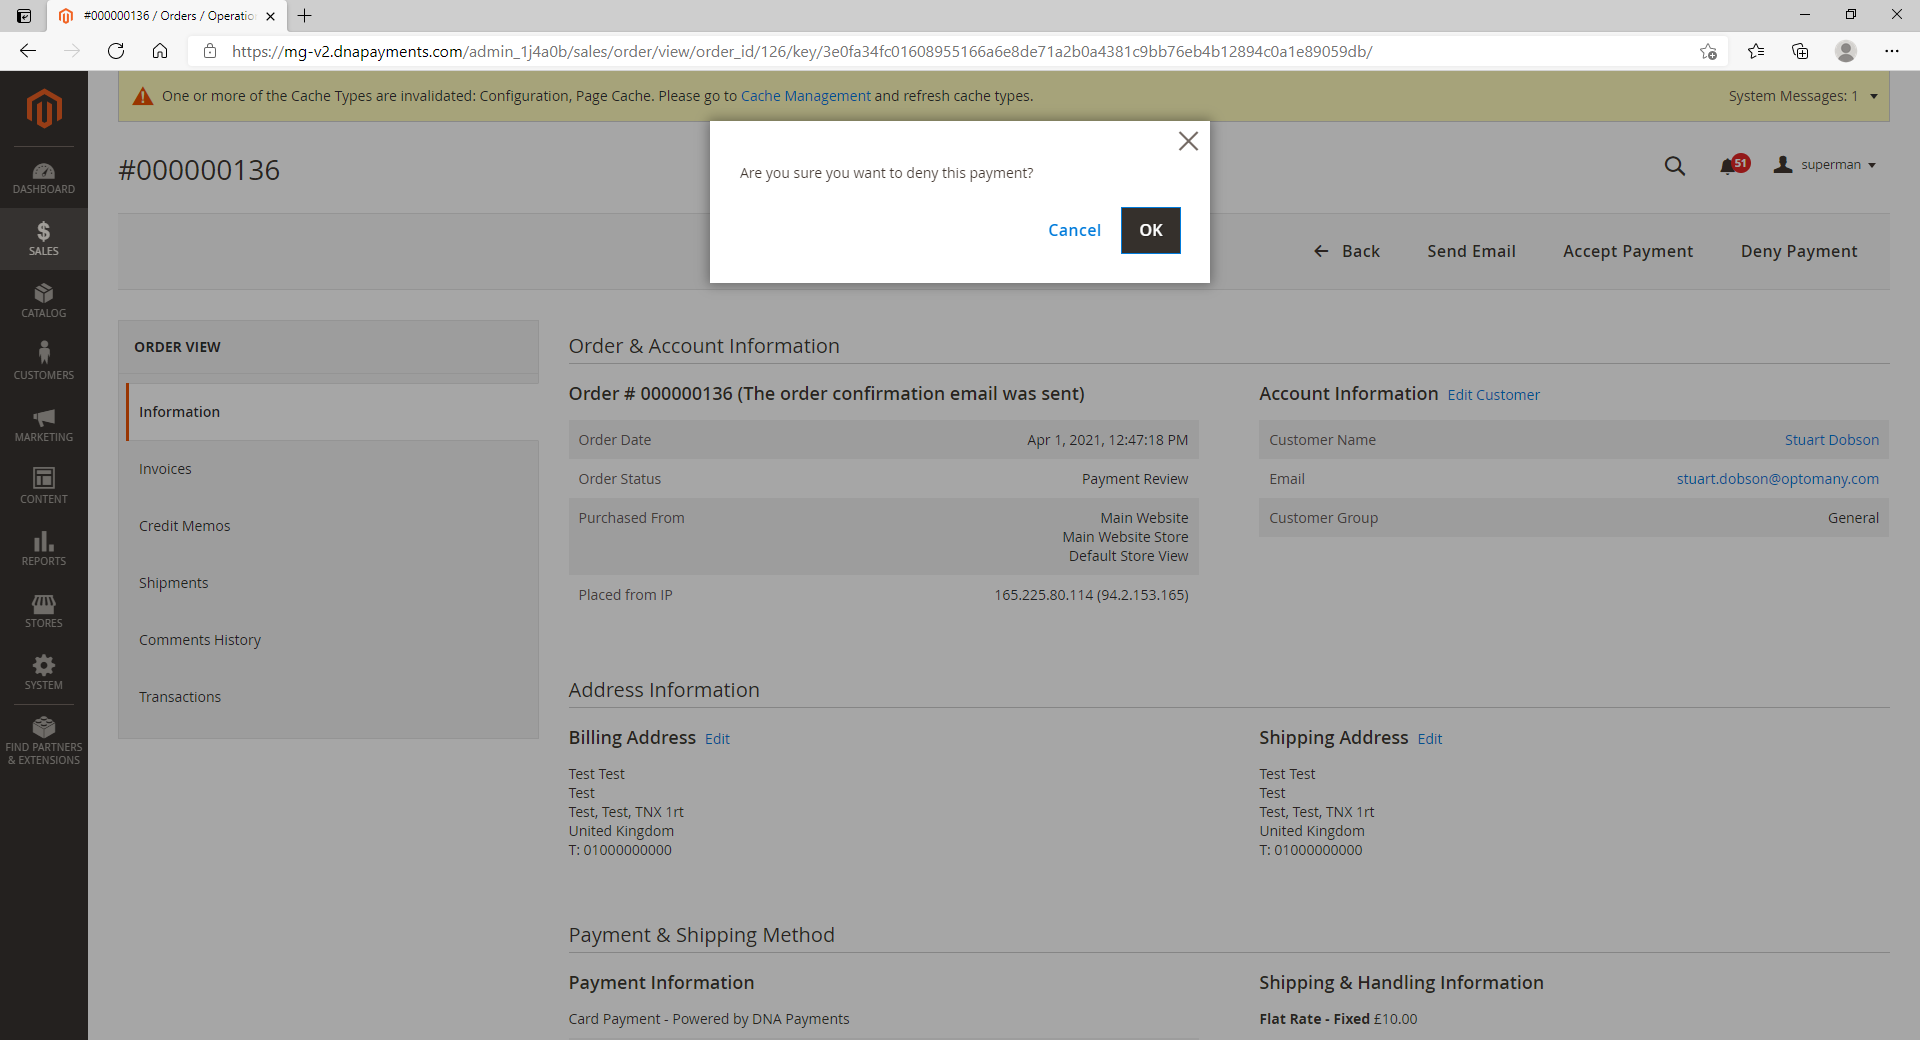
Step 3
Press “OK” to confirm the rejection of the payment.
Step 4
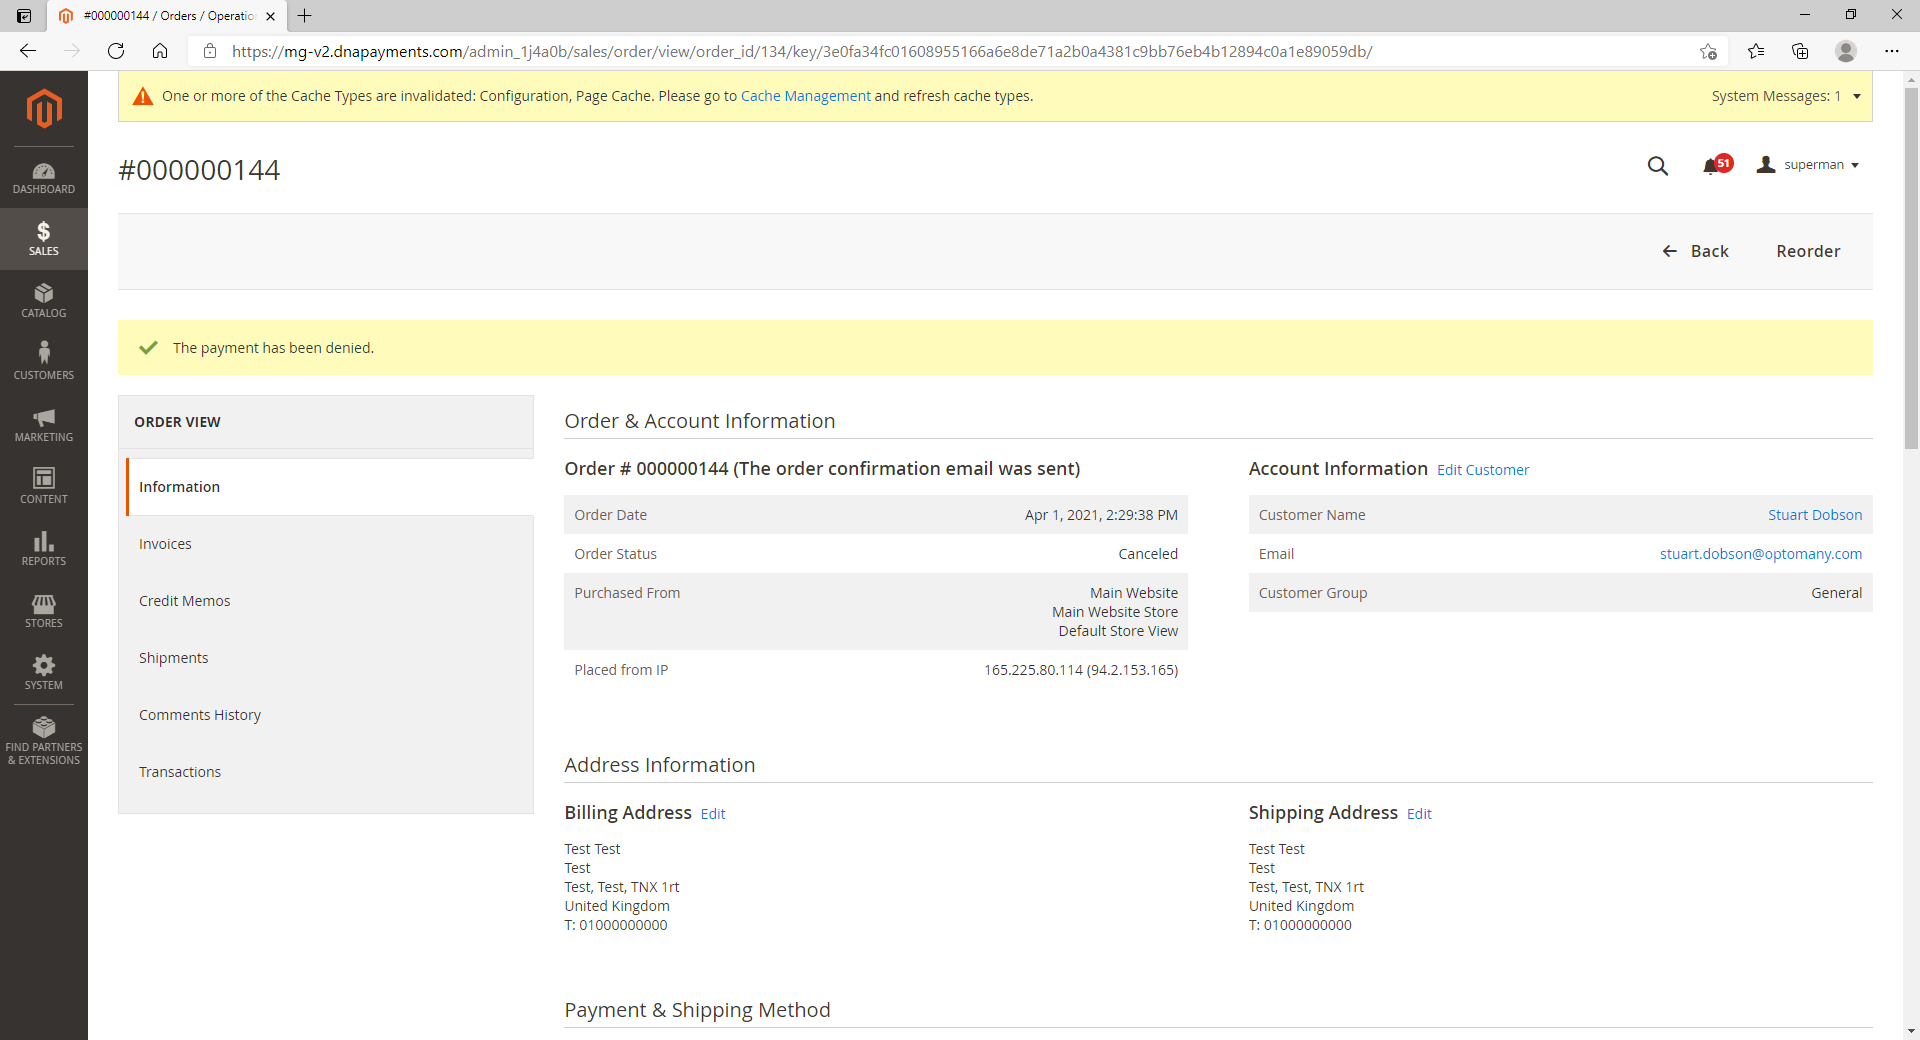
Magento 2 confirms that the payment has been denied/rejected.
Performing a Refund
The steps required to perform a reversal or refund are shown below.
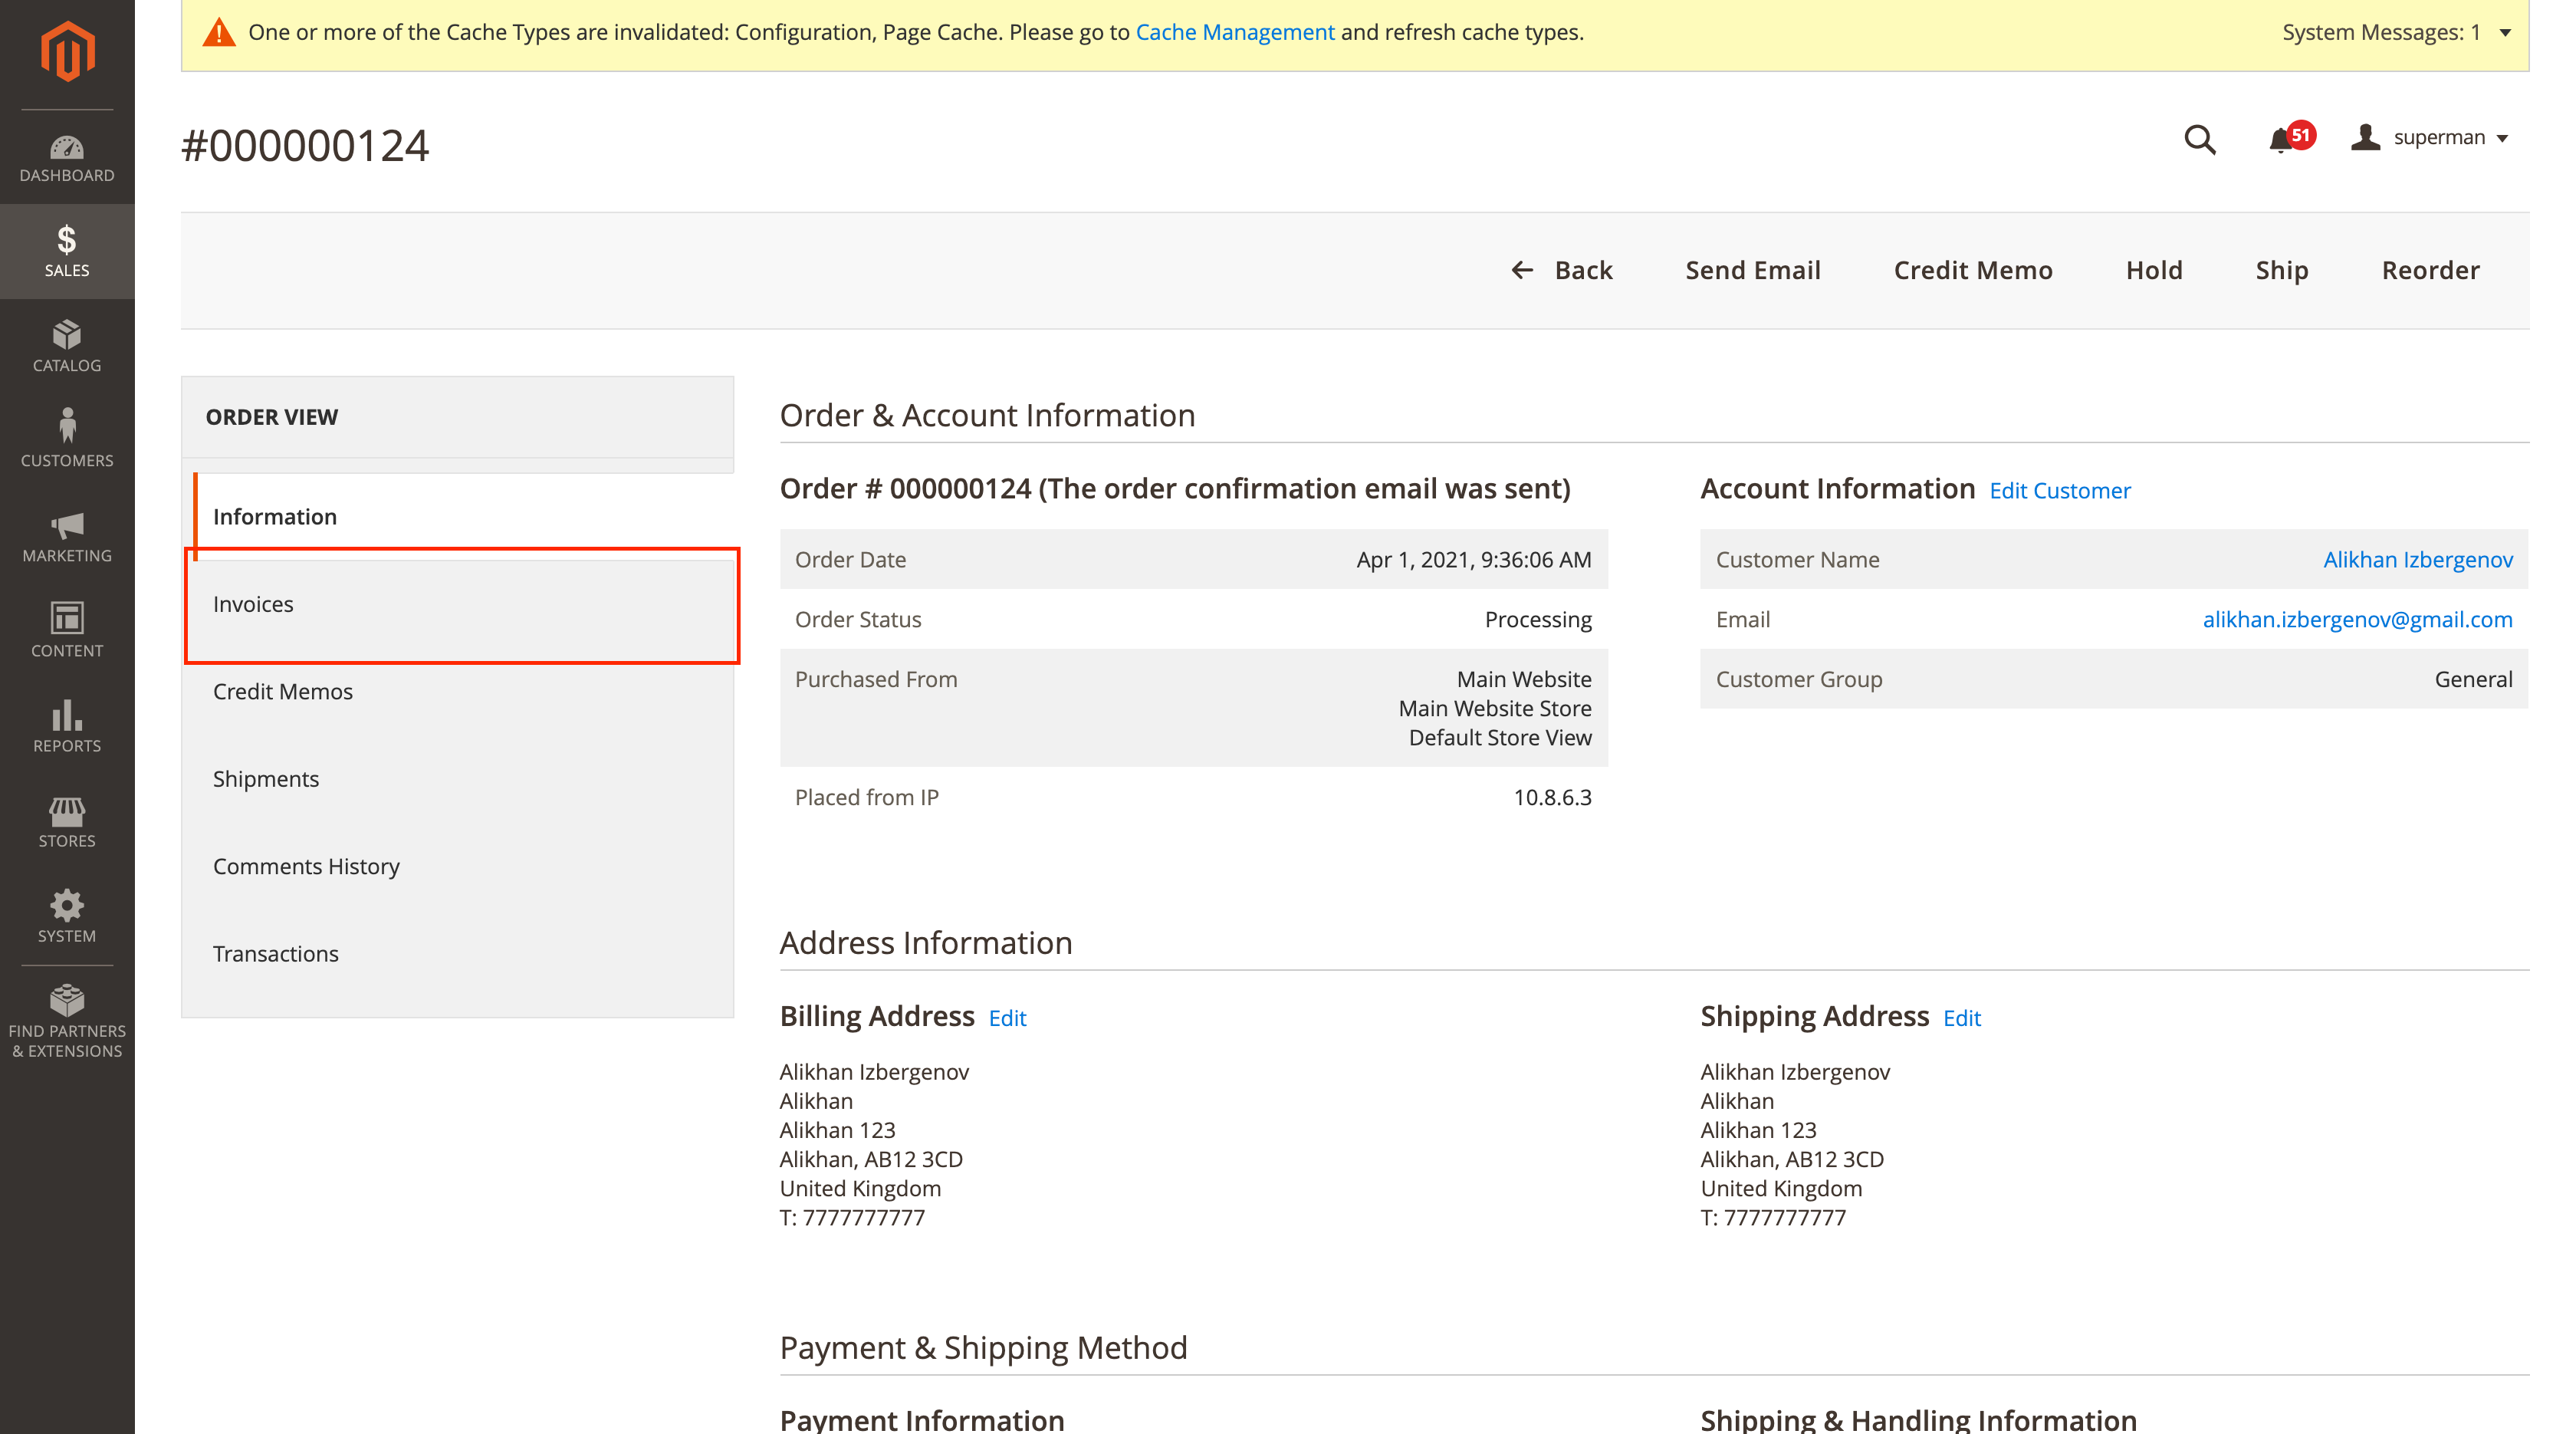
Step 1
In the order that requires refunding select the “Invoices” option.
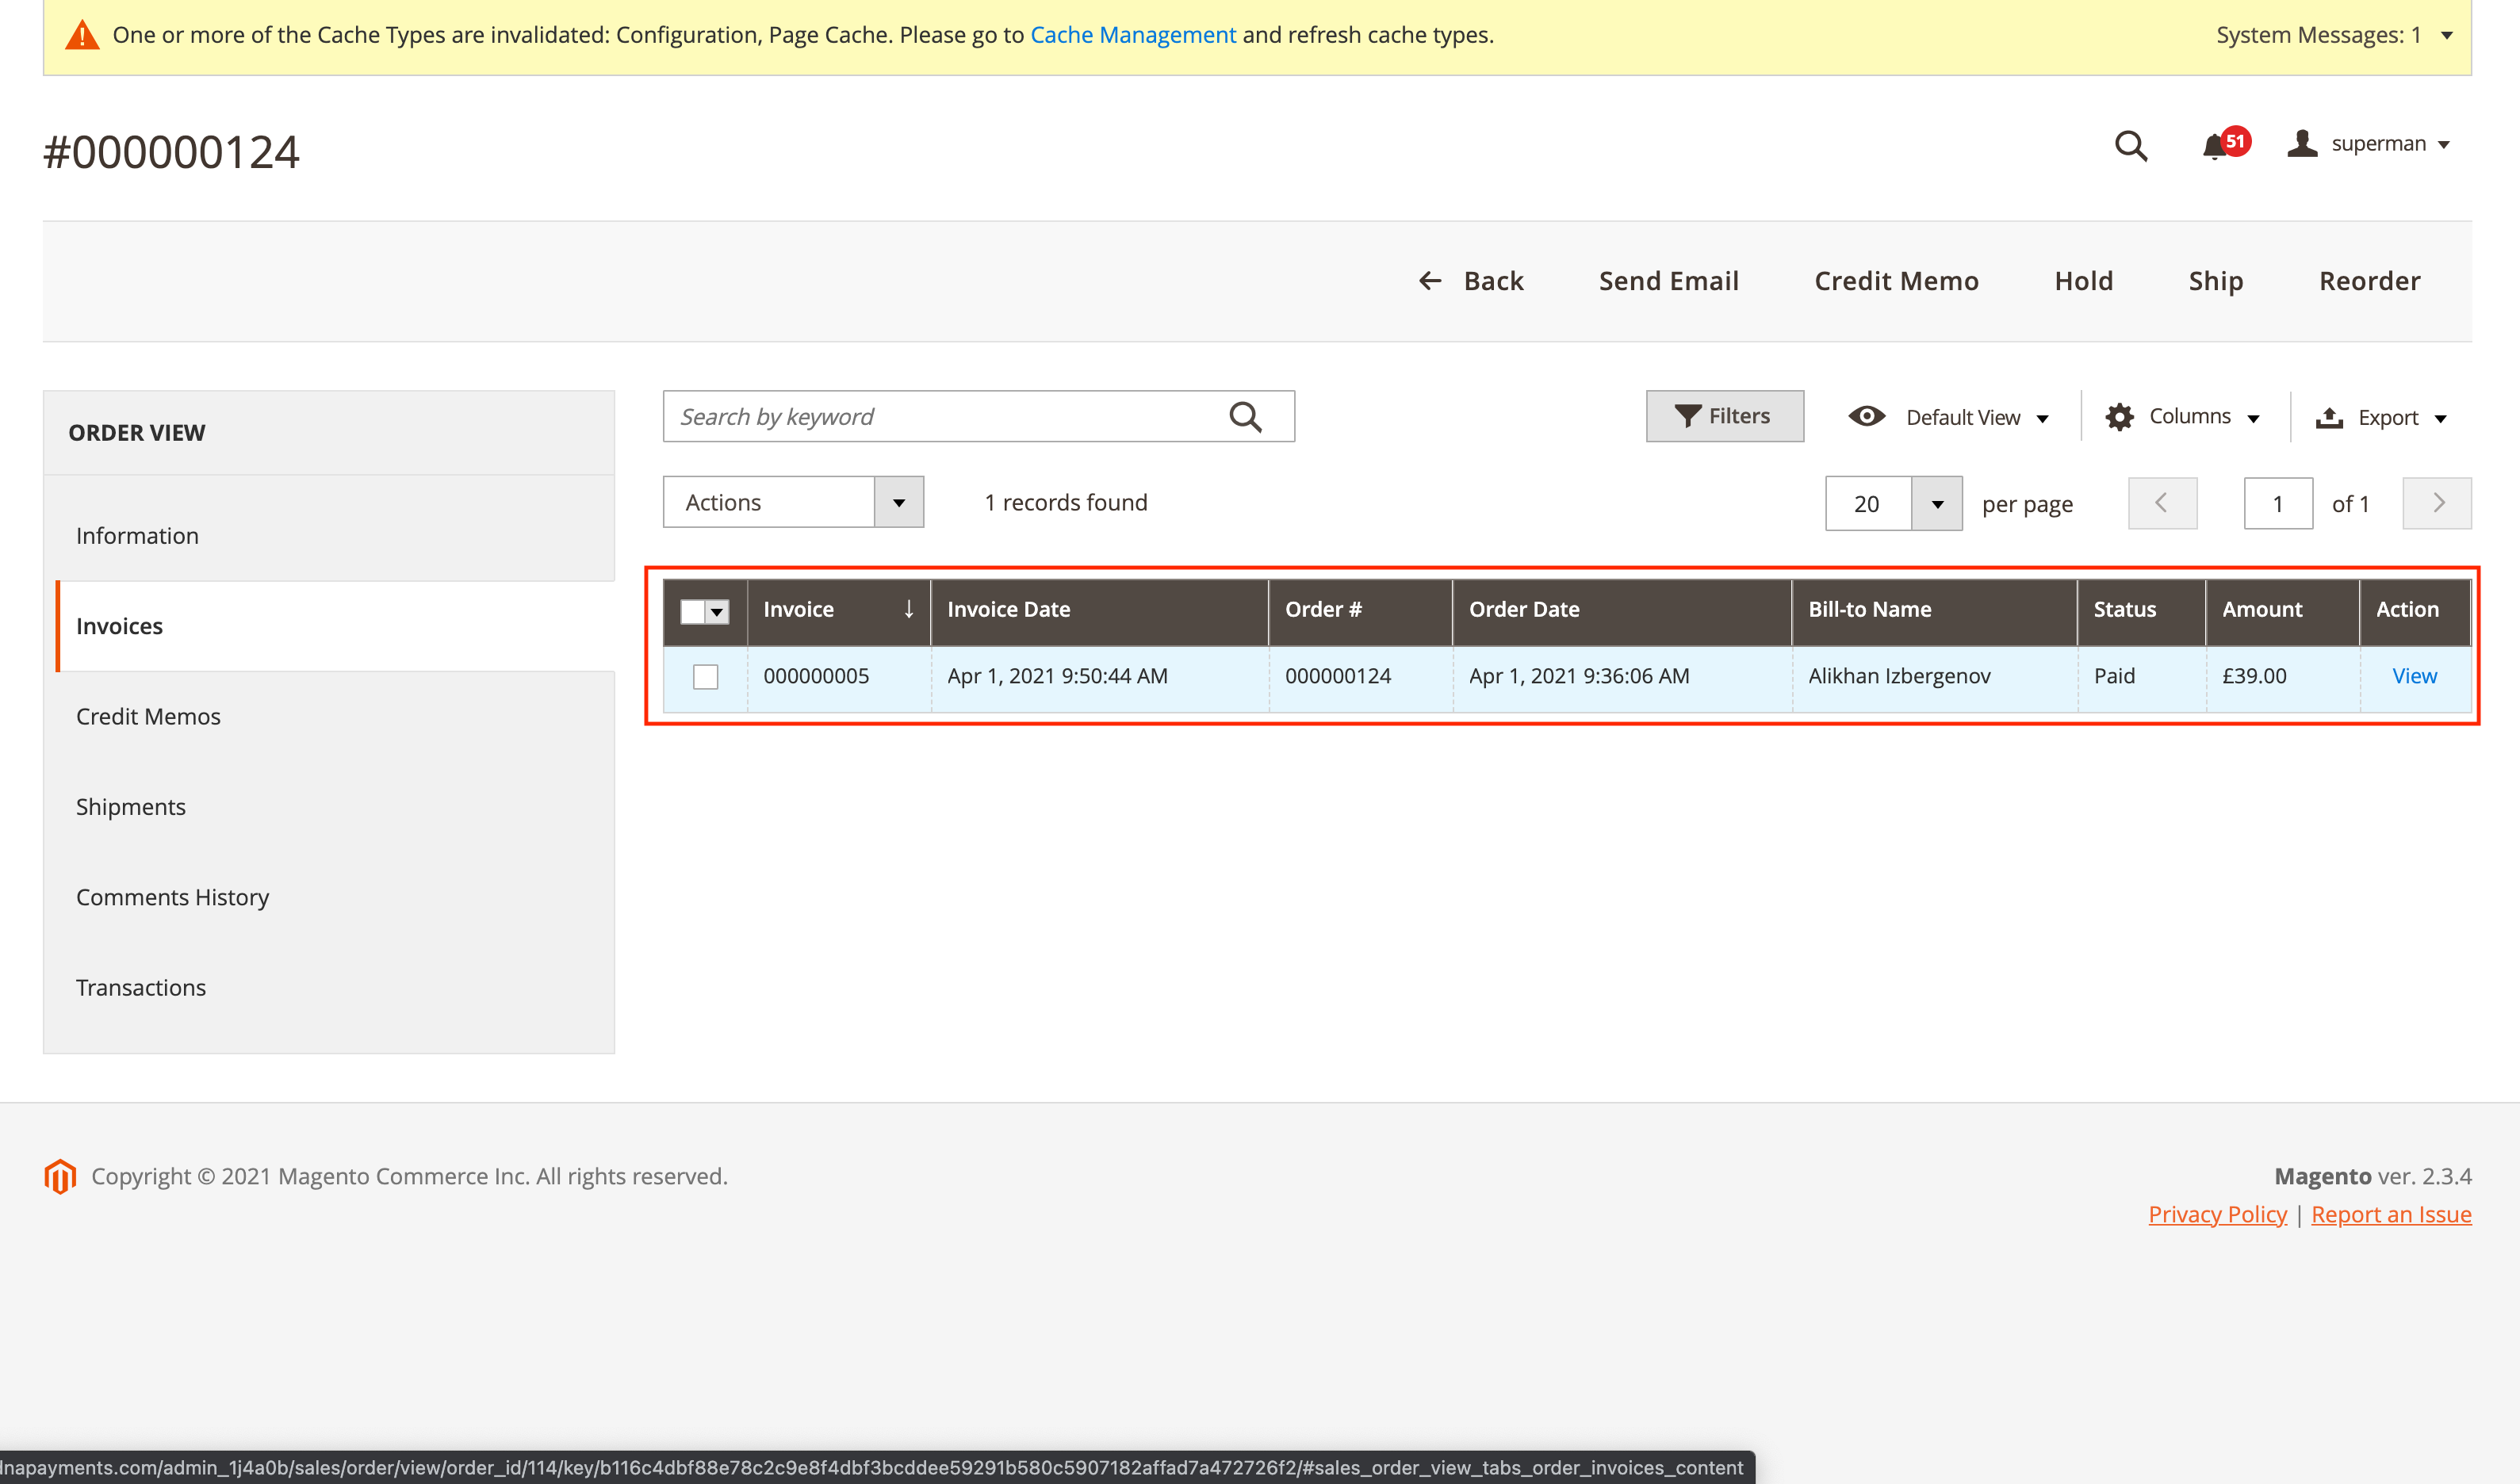
Step 2
View the invoice that requires refunding.
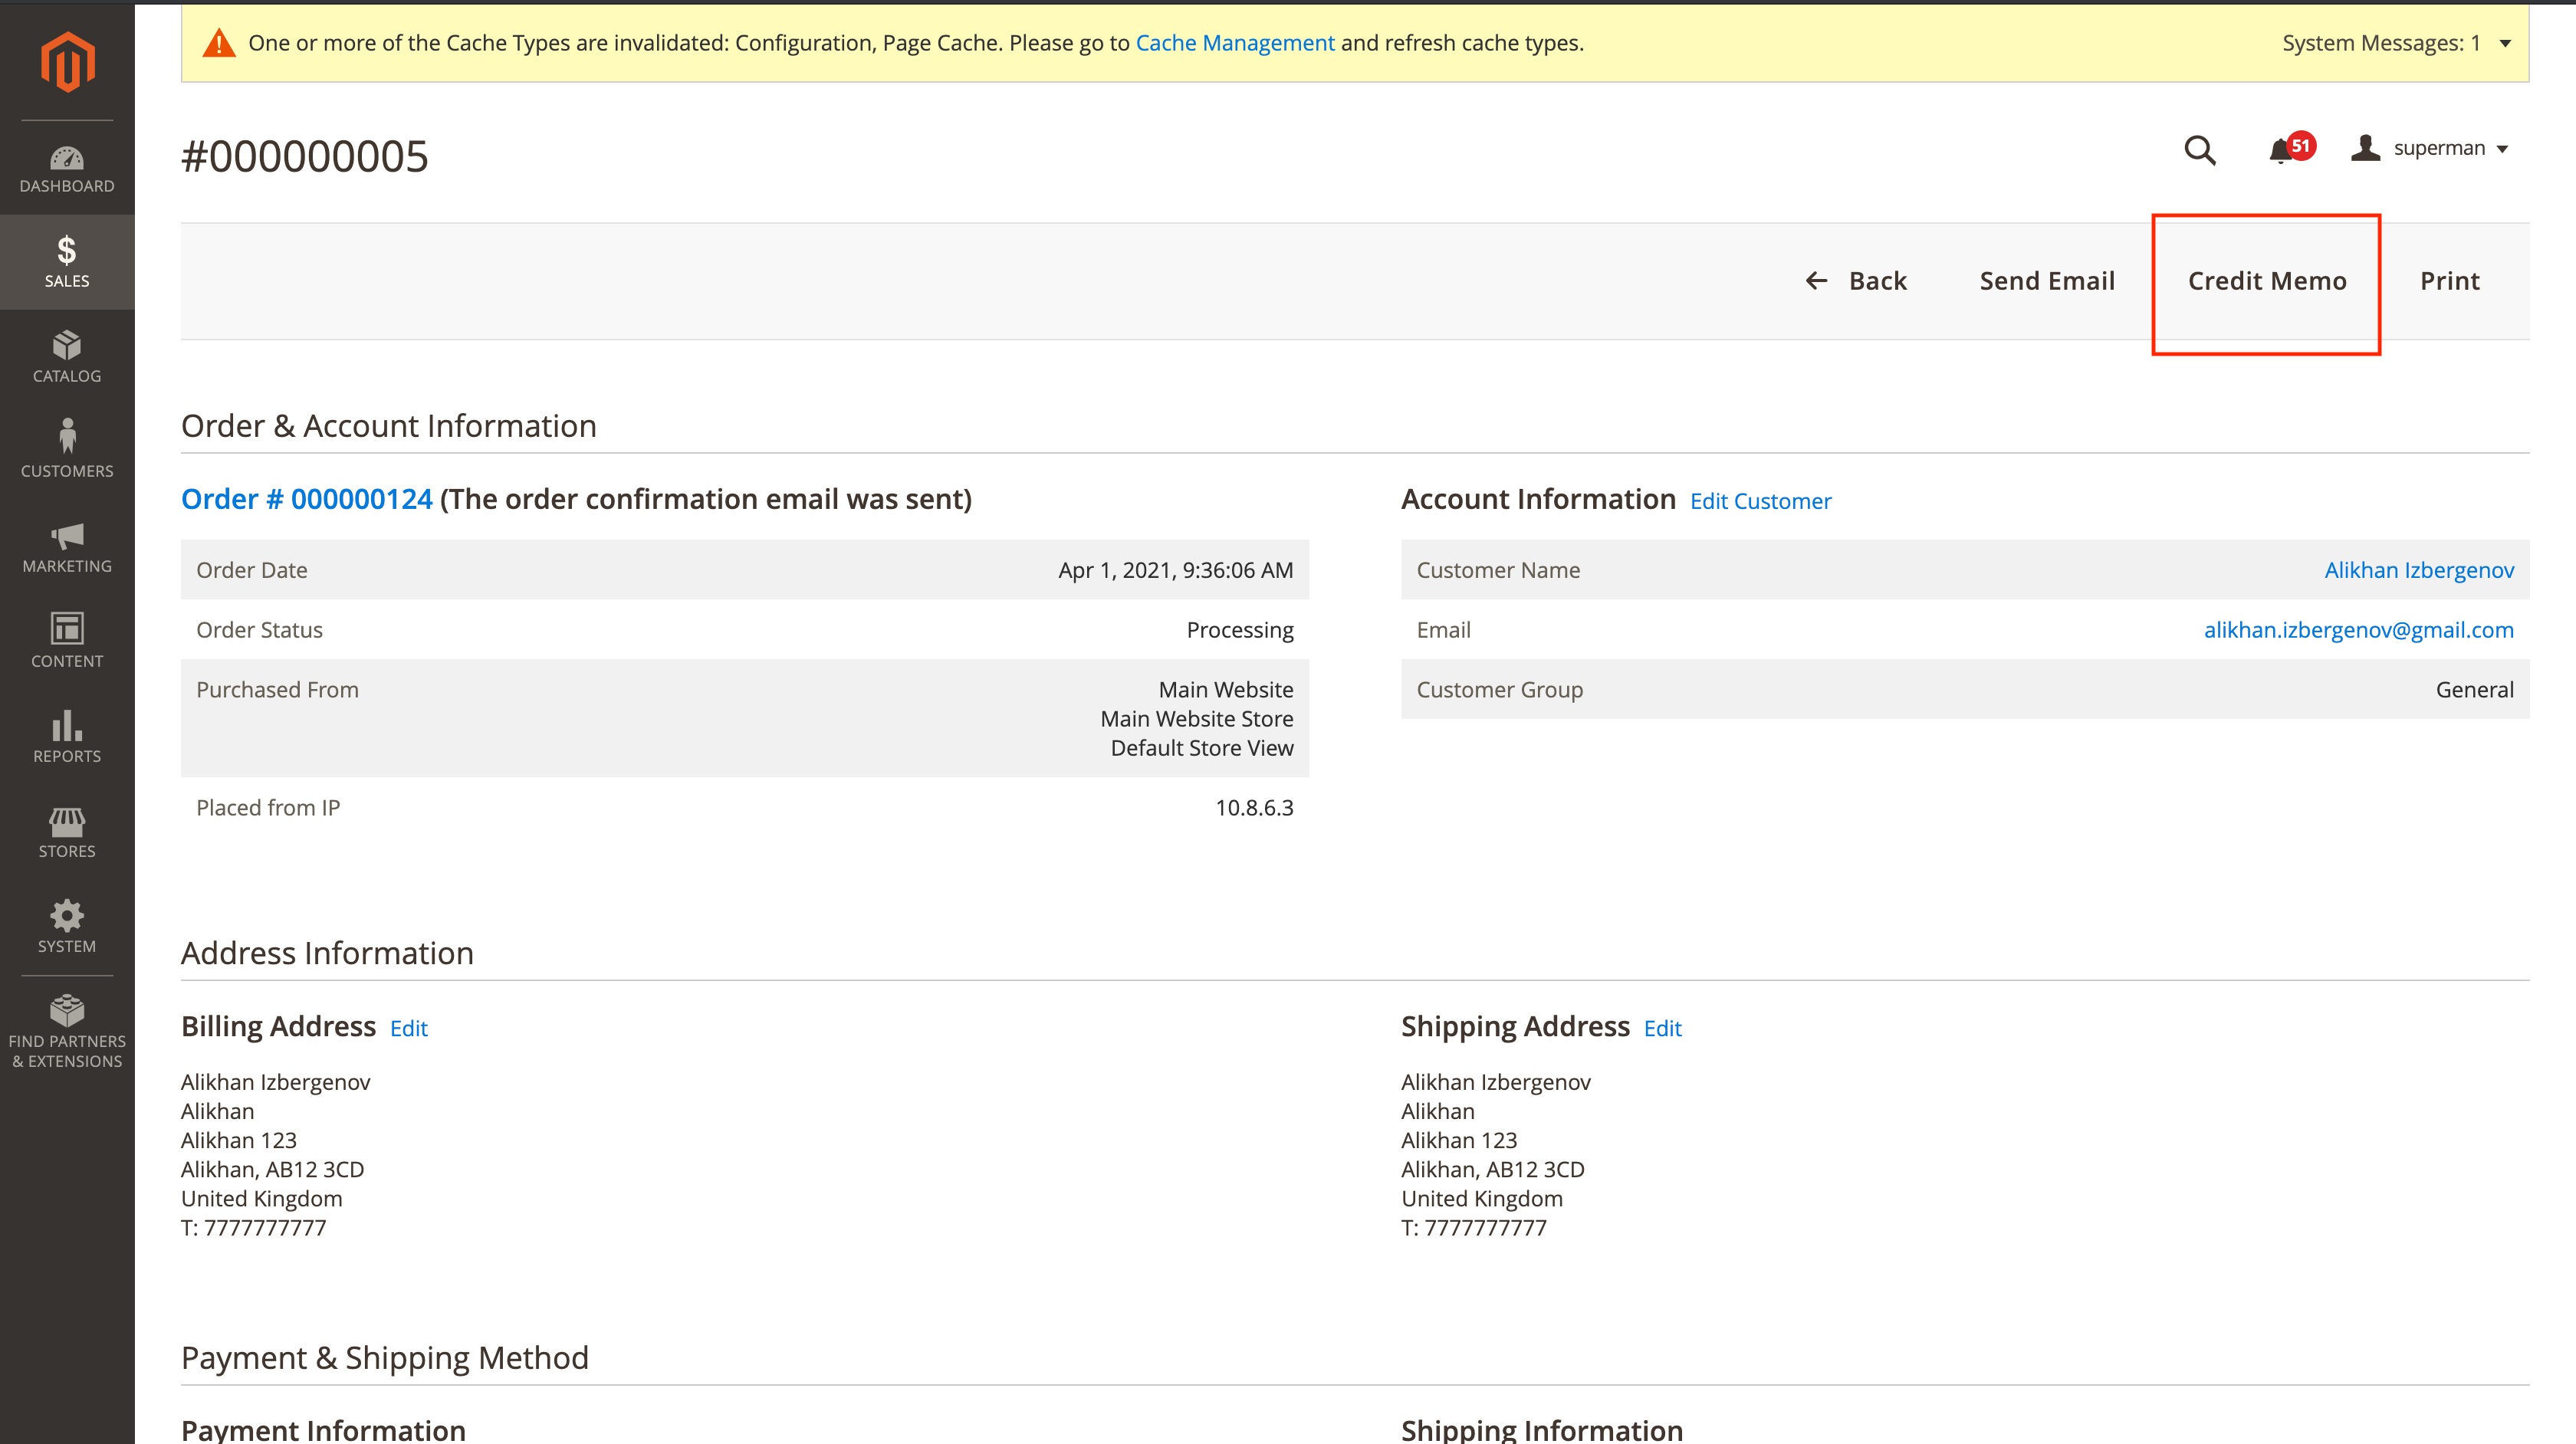
Step 3
Select the “Credit Memo” option.
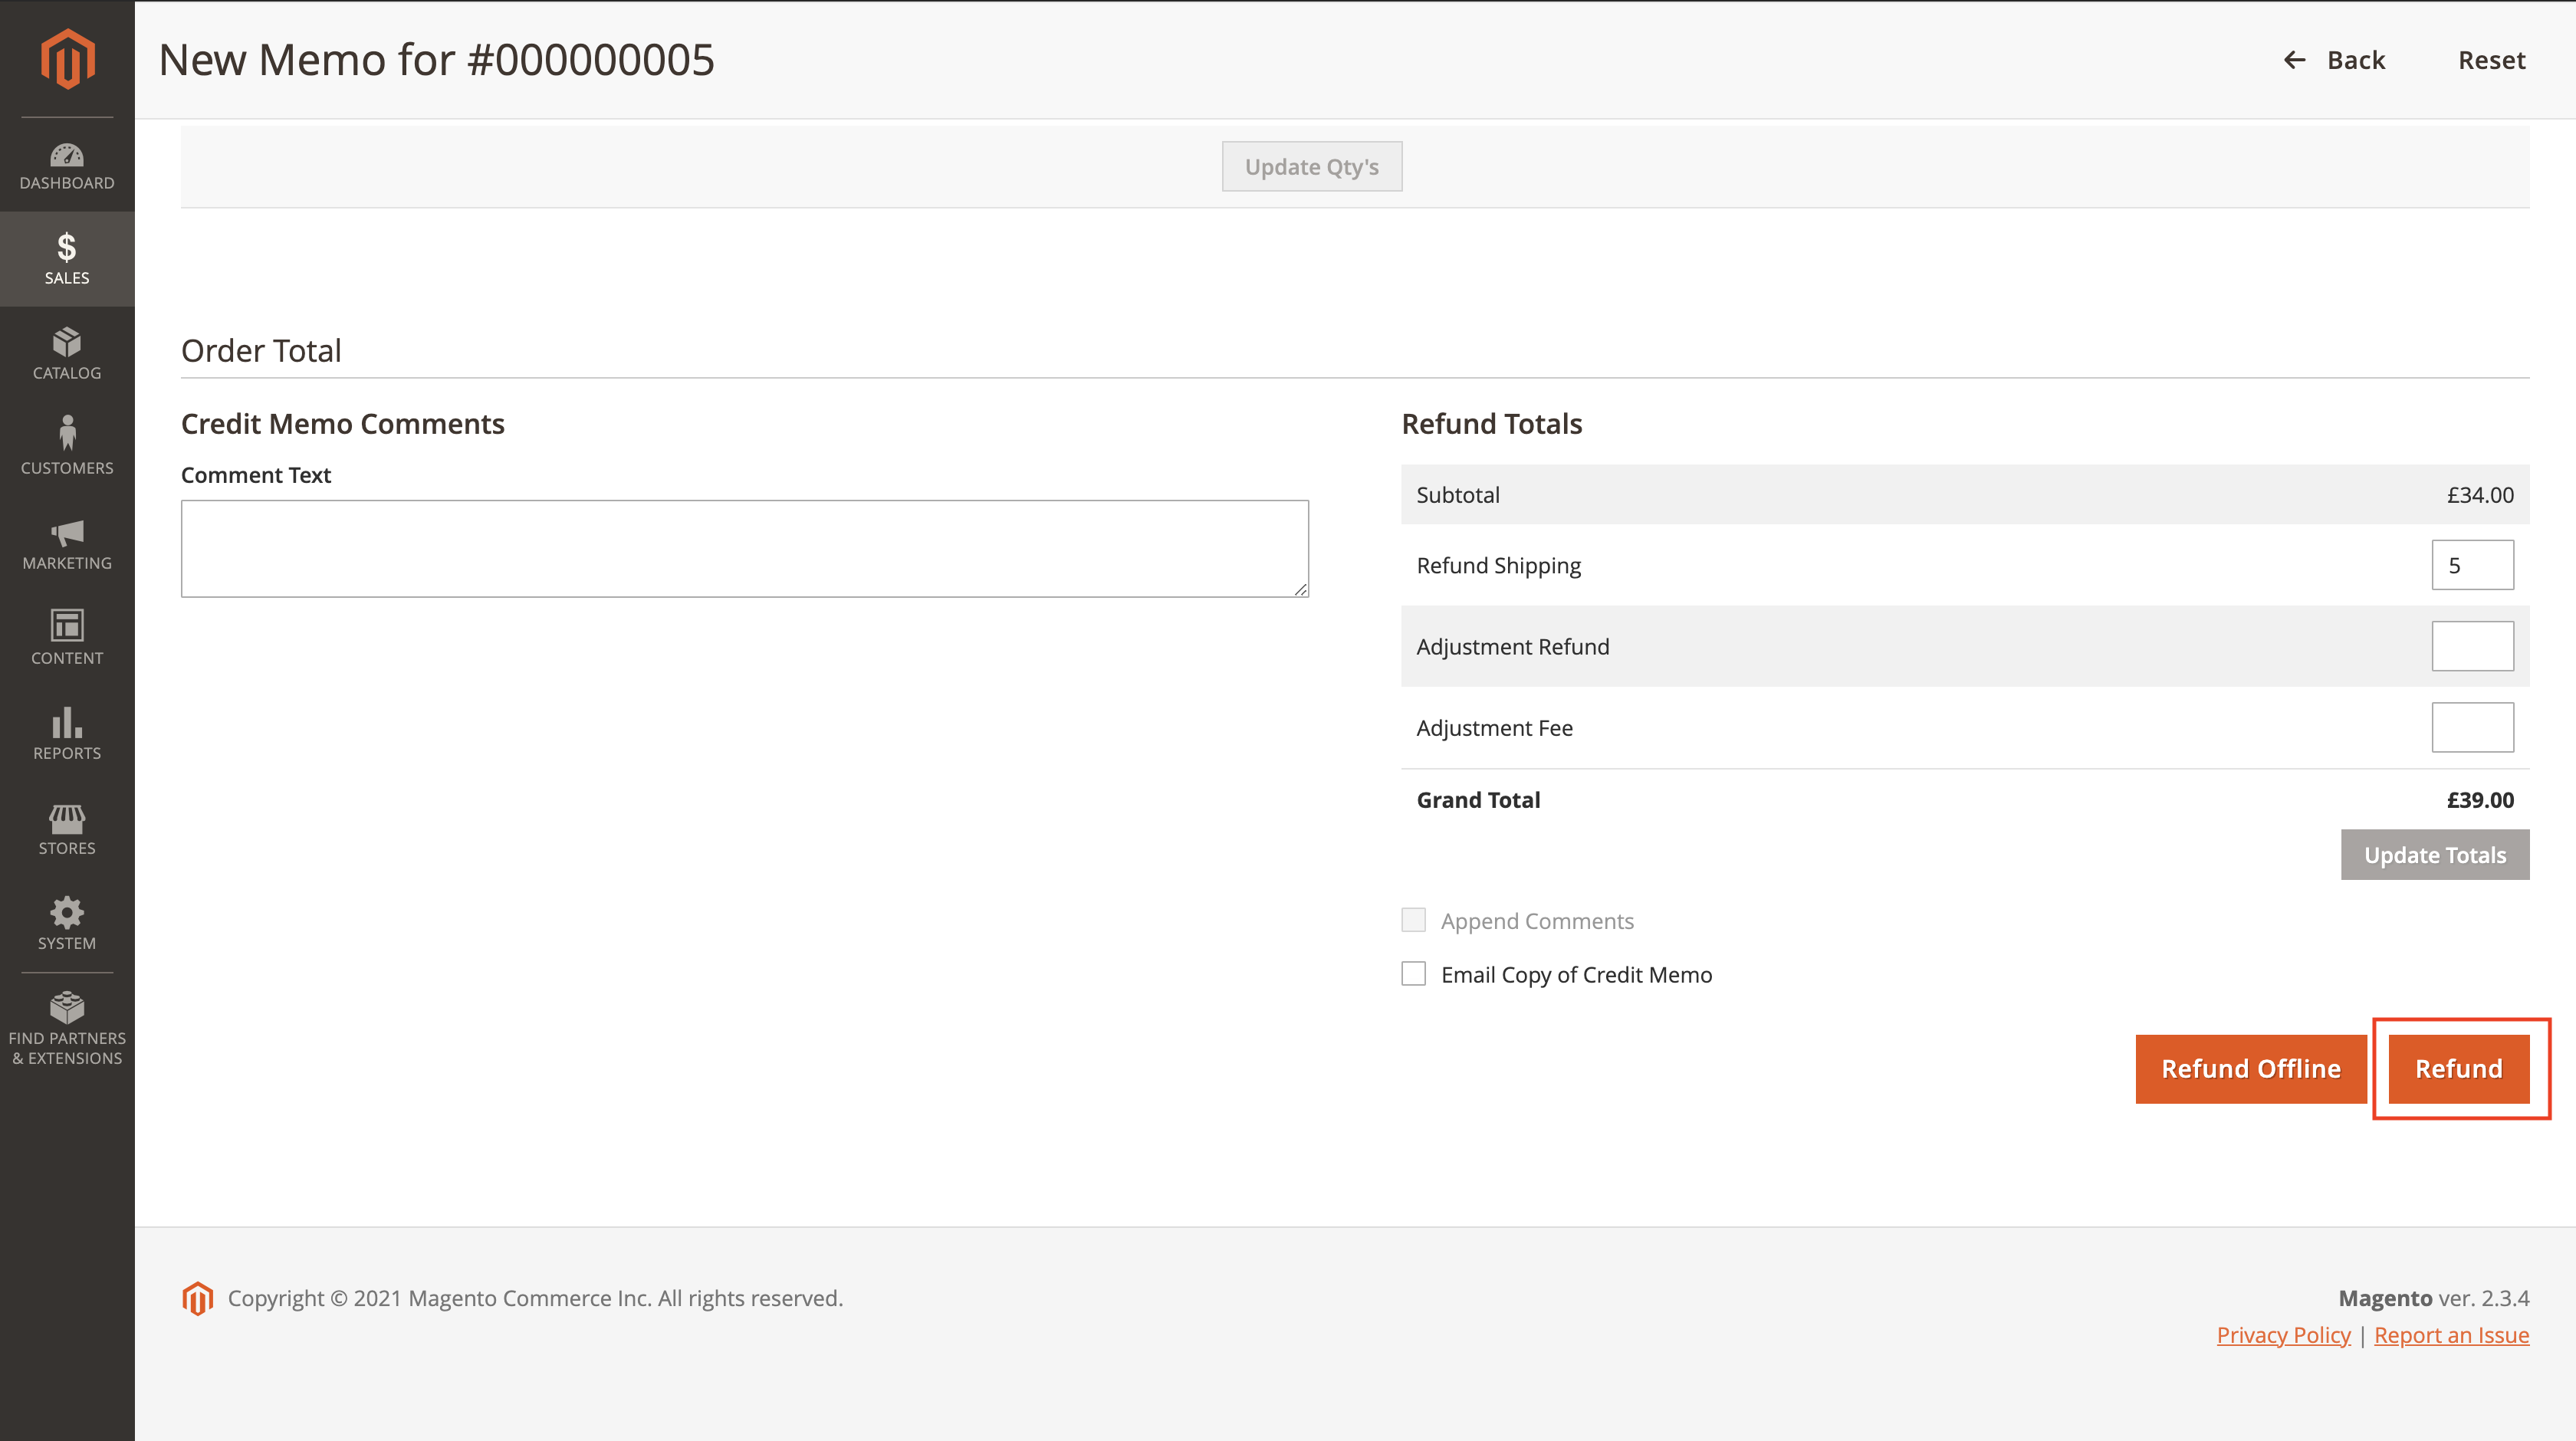
Step 4
Update the values to reflect the amount required to refund and click the “Refund” option.
Step 5
When the refund has been processed Magento 2 will confirm as per the message shown above.
The audit log and totals will also show that an online refund has been processed.

